章節 3 LAMP 程式集
LAMP 是由 4 個單字開頭的字組成的詞。 LAMP 讓你可以在一台系統為 Linux 的電腦上,用 Apache 架設網站伺服器,其中資料儲存在 MySQL 裡面,最後用 PHP 執行動態的網站。
這章會教你怎麼安裝 LAMP 程式集。
3.2 Apache
Apache HTTP Server(簡稱 Apache),是一個開放原始碼的程式,被用來當作網頁的伺服器,是目前流行的網頁伺服器之一。
3.2.2 安裝 Apache
首先先更新套件管理程式(APT)的來源:
確認是否是我們要安裝的 Apache 版本
Package: apache2
Version: 2.4.52-1ubuntu4.6
Priority: optional
Section: web
Origin: Ubuntu
Maintainer: Ubuntu Developers <ubuntu-devel-discuss@lists.ubuntu.com>
Original-Maintainer: Debian Apache Maintainers <debian-apache@lists.debian.org>
Bugs: https://bugs.launchpad.net/ubuntu/+filebug
Installed-Size: 546 kB
Provides: httpd, httpd-cgi
Pre-Depends: init-system-helpers (>= 1.54~)
Depends: apache2-bin (= 2.4.52-1ubuntu4.6), apache2-data (= 2.4.52-1ubuntu4.6), apache2-utils (= 2.4.52-1ubuntu4.6), lsb-base, mime-support, perl:any, procps
Recommends: ssl-cert
Suggests: apache2-doc, apache2-suexec-pristine | apache2-suexec-custom, www-browser, ufw
Conflicts: apache2.2-bin, apache2.2-common
Replaces: apache2.2-bin, apache2.2-common
Homepage: https://httpd.apache.org/
Task: lamp-server
Download-Size: 97.8 kB
APT-Sources: http://tw.archive.ubuntu.com/ubuntu jammy-updates/main amd64 Packages
Description: Apache HTTP Server
 The Apache HTTP Server Project's goal is to build a secure, efficient and
 extensible HTTP server as standards-compliant open source software. The
 result has long been the number one web server on the Internet.
 .
 Installing this package results in a full installation, including the
 configuration files, init scripts and support scripts.

N: There are 2 additional records. Please use the '-a' switch to see them.
可以從套件的描述看到,確實是我們要的 Apache HTTP Server。接著進行安裝 Apache2。
Reading package lists... Done
Building dependency tree
Reading state information... Done
The following additional packages will be installed:
  apache2-bin apache2-data apache2-utils libapr1 libaprutil1 libaprutil1-dbd-sqlite3 libaprutil1-ldap
  libjansson4 liblua5.2-0 ssl-cert
Suggested packages:
  apache2-doc apache2-suexec-pristine | apache2-suexec-custom www-browser openssl-blacklist
The following NEW packages will be installed:
  apache2 apache2-bin apache2-data apache2-utils libapr1 libaprutil1 libaprutil1-dbd-sqlite3
  libaprutil1-ldap libjansson4 liblua5.2-0 ssl-cert
0 upgraded, 11 newly installed, 0 to remove and 0 not upgraded.
Need to get 1,865 kB of archives.
After this operation, 8,083 kB of additional disk space will be used.
Do you want to continue? [Y/n]
這裡用鍵盤輸入 y 後按 Enter↩︎ 送出。
3.2.3 調整防火牆設定
有些程式會自動把設定檔加入 UFW 中,這樣就可以透過設定檔啟用/關閉設定防火牆允許的埠號,不用再特別記下該軟體的設定,像是 Apache 就是其中之一。
透過指令顯示有什麼可用的應用程式設定檔。
下列是目前可用的設定檔:
Available applications:
  Apache
  Apache Full
  Apache Secure
OpenSSHApache:會在防火牆新增一個允許從任何地方連線至埠號
80的規則。Apache Full:會在防火牆新增一個允許從任何地方連線至埠號
80與埠號443的規則。Apache Secure:在防火牆新增一個允許從任何地方連線至埠號
443的規則。
使用方式很簡單,跟允許埠號時的指令一樣,把埠號改成設定檔名稱即可。
Rule added
Rule added (v6)
確認剛才有沒有新增成功:
Status: active

To                         Action      From
--                         ------      ----
60000                      ALLOW       Anywhere
Apache                     ALLOW       Anywhere
60000 (v6)                 ALLOW       Anywhere (v6)
Apache (v6)                ALLOW       Anywhere (v6)
接著可以透過瀏覽器連線到下列網址:
http://<虛擬主機的 ip 位址>/就是前一章記下來的 192.168.56.1
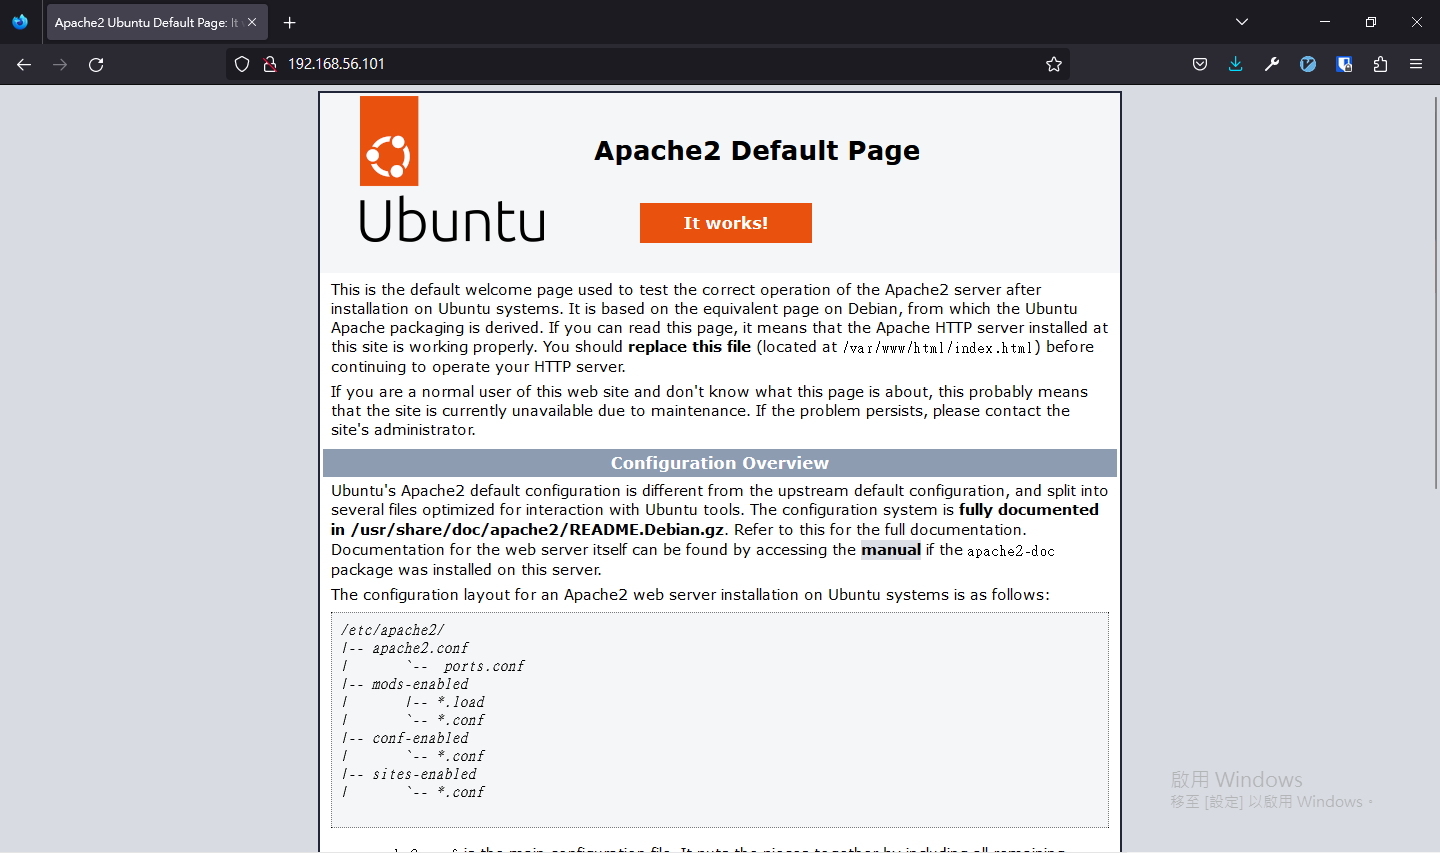
圖 3.1: Apache 安裝後,預設的首頁
忘記怎麼找 ip 可以用下列的方法找到:
ip addr show | grep -B 2 "inet "
1: lo: <LOOPBACK,UP,LOWER_UP> mtu 65536 qdisc noqueue state UNKNOWN group default qlen 1000
    link/loopback 00:00:00:00:00:00 brd 00:00:00:00:00:00
    inet 127.0.0.1/8 scope host lo
--
2: enp0s3: <BROADCAST,MULTICAST,UP,LOWER_UP> mtu 1500 qdisc fq_codel state UP group default qlen 1000
    link/ether 08:00:27:d3:c8:05 brd ff:ff:ff:ff:ff:ff
    inet 10.0.2.15/24 metric 100 brd 10.0.2.255 scope global dynamic enp0s3
--
3: enp0s8: <BROADCAST,MULTICAST,UP,LOWER_UP> mtu 1500 qdisc fq_codel state UP group default qlen 1000
    link/ether 08:00:27:59:b3:11 brd ff:ff:ff:ff:ff:ff
    inet 192.168.56.101/24 metric 100 brd 192.168.56.255 scope global dynamic enp0s8
網路介面卡 enp0s8 上面的 inet 後面的數字就是 IP。另一張網卡 enp0s3 是 NAT 網路的 IP。這裡我們應該用前者的 IP 作為網址。
hostname -I
10.0.2.15 192.168.56.1同樣地,192.168.56.1 才是我們需要的 IP。
3.3 MySQL
MySQL(讀作 My-S-Q-L)因為其效能高、成本低、可信賴的原因,被廣大企業所使用,目前也是受歡迎的開放原始碼資料庫系統之一。
3.3.2 安裝 MySQL
Package: mysql-server
Version: 8.0.34-0ubuntu0.22.04.1
Priority: optional
Section: database
Source: mysql-8.0
Origin: Ubuntu
Maintainer: Ubuntu Developers <ubuntu-devel-discuss@lists.ubuntu.com>
Original-Maintainer: Debian MySQL Maintainers <pkg-mysql-maint@lists.alioth.debian.org>
Bugs: https://bugs.launchpad.net/ubuntu/+filebug
Installed-Size: 35.8 kB
Depends: mysql-server-8.0
Homepage: http://dev.mysql.com/
Task: lamp-server
Download-Size: 9,460 B
APT-Sources: http://tw.archive.ubuntu.com/ubuntu jammy-updates/main amd64 Packages
Description: MySQL database server (metapackage depending on the latest version)
 This is an empty package that depends on the current "best" version of
 mysql-server (currently mysql-server-8.0), as determined by the MySQL
 maintainers. Install this package if in doubt about which MySQL
 version you need. That will install the version recommended by the
 package maintainers.
 .
 MySQL is a fast, stable and true multi-user, multi-threaded SQL database
 server. SQL (Structured Query Language) is the most popular database query
 language in the world. The main goals of MySQL are speed, robustness and
 ease of use.

N: There is 1 additional record. Please use the '-a' switch to see it
首先,透過 Apt 安裝 MySQL:
3.3.3 設定 MySQL
指令 mysql_secure_installation 會做以下幾件事(詳細的說明可以在這裡找到):
你可以設定
root帳號的密碼。你可以移除
root帳號預設可以從任何地方連線至本機的設定。你可以移除沒有名稱的匿名帳號(anonymous-user)詳細說明可以從這裡找到。
你可以移除預設的
test資料庫(這個資料庫任何人都可以存取,甚至是匿名帳號),和任何使用者名稱是test_開頭的使用者帳號可以存取任何資料庫的權限。
安裝完成後,打下面這段指令啟動 MySQL 安全安裝程序。
建議這裡選 No。如果這裡選了 Yes,那之後只要是創建使用者都會要求你使用密碼強度很高的密碼,因為要設定複雜的密碼,所以不適合給學生使用。
Securing the MySQL server deployment.

Connecting to MySQL using a blank password.

VALIDATE PASSWORD COMPONENT can be used to test passwords
and improve security. It checks the strength of password
and allows the users to set only those passwords which are
secure enough. Would you like to setup VALIDATE PASSWORD component?

Press y|Y for Yes, any other key for No:
這個版本預設是使用 auth_socket 插件驗證,如果系統檢測到你的使用者名稱與 MySQL 中的使用者名稱相同,則允許登入。例如:sudo mysql 會以 root 的使用者執行指令,此時使用者會是 root,且 root 在資料庫中有帳號,最終會允許 root 登入資料庫。
Skipping password set for root as authentication with auth_socket is used by default.
If you would like to use password authentication instead, this can be done with the "ALTER_USER" command.
See https://dev.mysql.com/doc/refman/8.0/en/alter-user.html#alter-user-password-management for more information.
這個階段是問你要不要刪除匿名帳號,輸入 Yes
By default, a MySQL installation has an anonymous user,
allowing anyone to log into MySQL without having to have
a user account created for them. This is intended only for
testing, and to make the installation go a bit smoother.
You should remove them before moving into a production
environment.

Remove anonymous users? (Press y|Y for Yes, any other key for No) : y
這裏是問你要不要讓 root 帳號可以從任何地方連入,這裡當然是選 No
Normally, root should only be allowed to connect from
'localhost'. This ensures that someone cannot guess at
the root password from the network.

Disallow root login remotely? (Press y|Y for Yes, any other key for No) :如果選擇Yes,會將使用者帳號的可連線網域設為 %,代表任何地方都可以連入的意思
MySQL 安裝後,有內建一個叫做 test 的資料庫,用於學習怎麼使用 MySQL。這裡可以選擇將它移除或是保留。
By default, MySQL comes with a database named 'test' that
anyone can access. This is also intended only for testing,
and should be removed before moving into a production
environment.


Remove test database and access to it? (Press y|Y for Yes, any other key for No) :
這裡會詢問要不要重新讀取權限表,選 Y 即可。
 - Dropping test database...
Success.

 - Removing privileges on test database...
Success.

Reloading the privilege tables will ensure that all changes
made so far will take effect immediately.

Reload privilege tables now? (Press y|Y for Yes, any other key for No) :
完成!
Success.

All done!
最後使用指令測試 MySQL 連線:
-
--user, -u:使用者帳號
3.4 PHP
PHP(Hypertext PreProcessor,超文字預處理器),允許網頁開發人員開發動態網頁,截至2021年被世界上至少70%以上的網頁所使用。
3.4.1 安裝 PHP
除了 php 套件之外,libapache2-mod-php 套件是讓 apache2 認識 php 這個檔案,而 php-mysql 是讓 PHP 與 MySQL 溝通的套件。
TODO: 連結至第五章 python 說明 which -A 指令 -->
3.4.2 建立虛擬網站
虛擬網站(Virtual Host)可以讓你在一台電腦同時架設多個網站,擁有不同的域名。在這裡的用處就是建立一個新的網站。
首先,於 apache2 的設定資料夾中,新建一個叫做 asis.conf 的設定檔:
寫入測試用的設定
/etc/apache2/sites-available/asis.conf
<VirtualHost *:80>
    ServerAdmin webmaster@localhost
    DocumentRoot /var/www/asis
    ErrorLog ${APACHE_LOG_DIR}/error.log
    CustomLog ${APACHE_LOG_DIR}/access.log combined
</VirtualHost>ServerAdmin:現在這個變數已經被棄用了,在 Apache 先前的版本當伺服器出錯時會顯示聯絡管理員的方式。而現階段版本還是有點用的,你可以在 PHP 中呼叫$_SERVER['SERVER_ADMIN']變數會顯示ServerAdmin所設定的 Email。DocumentRoot:網站的根目錄ErrorLog:錯誤訊息路徑CustomLog:設定 Log 的檔案名稱與格式,詳細說明在此
透過 list 指令可以看到,資料夾的擁有者是 root。 我們在安裝 Apache2 的部分從 http://<虛擬主機的 ip 地址>/ 看到的就是位於 /var/www/html/ 中的首頁,接下來我們要刪除 Apache2 預設的設定,並測試自己建立的虛擬網站(VirtualHost)。
total 16
drwxr-xr-x  4 root root 4096 Aug 22 02:50 .
drwxr-xr-x 14 root root 4096 Aug 21 05:16 ..
drwxr-xr-x  2 root root 4096 Aug 21 05:16 html
一樣地,以同樣地方法建立 asis 資料夾
產生一個測試用的首頁
/var/www/asis/index.html
<!DOCTYPE html>
<html lang="zh-TW">
<head>
  <meta charset="UTF-8">
  <meta http-equiv="X-UA-Compatible" content="IE=edge">
  <meta name="viewport" content="width=device-width, initial-scale=1.0">
  <title>Apache VirtualHost config test</title>
</head>
<body>
  <h1>成功!</h1>
  <p>您的 Apache2 虛擬網站的設定順利運作中。</p>
</body>
</html>
使用 a2dissite 指令關閉預設的設定檔。
Site 000-default disabled.
To activate the new configuration, you need to run:
  systemctl reload apache2
接著,啟用剛才創立的設定檔 asis.conf
重新讀取剛才變更的設定,使新的設定生效
接著至瀏覽器打上虛擬機器的 ip 位址
http://<虛擬主機的 ip 地址>/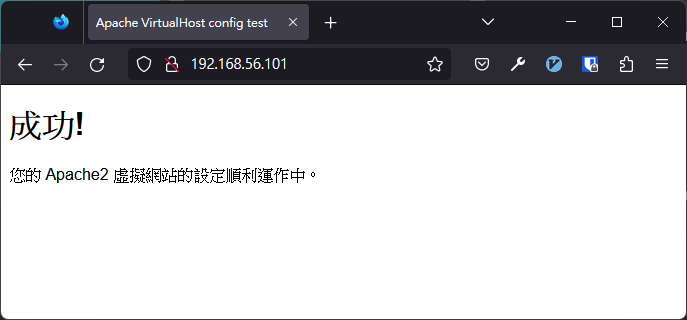
圖 3.2: Apache2 測試虛擬網站設定
或是直接在終端機中使用指令 curl 測試 asis.conf 設定檔:
.{console_output} <!DOCTYPE html> <html lang="zh-TW"> <head> <meta charset="UTF-8"> <meta http-equiv="X-UA-Compatible" content="IE=edge"> <meta name="viewport" content="width=device-width, initial-scale=1.0"> <title>Apache VirtualHost config test</title> </head> <body> <h1>成功!</h1> <p>您的 Apache2 虛擬網站的設定順利運作中。</p> </body> </html>
3.4.3 測試 PHP
在網站資料夾中新增一個 info.php 檔案
貼入以下程式碼
/var/www/asis/info.php
<?php
phpinfo();
進到網站 http://192.168.56.101/info.php

圖 3.3: Apache2 測試 PHP
成功顯示目前 PHP 的所有設定。測試完後記得要刪除 info.php。
3.4.4 使用者目錄網站
要開啟 apache2 的使用者目錄功能需要先確認 userdir 模組有沒有打開
如果像下圖一樣沒有找到 userdir_module 就是沒有開啟使用者目錄的功能
AH00558: apache2: Could not reliably determine the server's fully qualified domain name, using 127.0.1.1. Set the 'ServerName' directive globally to suppress this message
 authz_user_module (shared)
透過指令將使用者目錄模組啟動
啟動後,還要確定 userdir 模組的 UserDir 有無正確設定
/etc/apache2/mods-available/userdir.conf
<IfModule mod_userdir.c>
        # 確認 UserDir 是否有取消註解
        UserDir public_html
        UserDir disabled root

        <Directory /home/*/public_html>
                AllowOverride FileInfo AuthConfig Limit Indexes
                Options MultiViews Indexes SymLinksIfOwnerMatch IncludesNoExec
                Require method GET POST OPTIONS
        </Directory>
</IfModule>
變更目錄權限,使 apache2 有權限可以進入使用者家目錄
如果要使使用者家目錄運行 .php 類型的檔案,還需要將 php_admin_flag engine Off 註解
/etc/apache2/mods-available/php8.1.conf
[...]

# Running PHP scripts in user directories is disabled by default
#
# To re-enable PHP in user directories comment the following lines
# (from <IfModule ...> to </IfModule>.) Do NOT set it to On as it
# prevents .htaccess files from disabling it.
<IfModule mod_userdir.c>
    <Directory /home/*/public_html>
        # php_admin_flag engine Off
    </Directory>
</IfModule>
變更玩設定後,重新啟動 apache2 伺服器
3.5 phpMyAdmin
phpMyAdmin 是一個以 PHP 為基礎撰寫的一個軟體,可以讓使用者以簡易的方式新增、查詢、修改或是刪除資料庫裡面的紀錄。
3.5.2 安裝 phpMyAdmin
一樣地,確認 phpmyadmin 的版本
Package: phpmyadmin
Version: 4:5.1.1+dfsg1-5ubuntu1
Priority: optional
Section: universe/web
Origin: Ubuntu
Maintainer: Ubuntu Developers <ubuntu-devel-discuss@lists.ubuntu.com>
Original-Maintainer: phpMyAdmin Packaging Team <team+phpmyadmin@tracker.debian.org>
Bugs: https://bugs.launchpad.net/ubuntu/+filebug
Installed-Size: 36.5 MB
[...]
確認完畢後安裝
這裏用空白鍵勾選 apache2 使中括號中變成星號 *
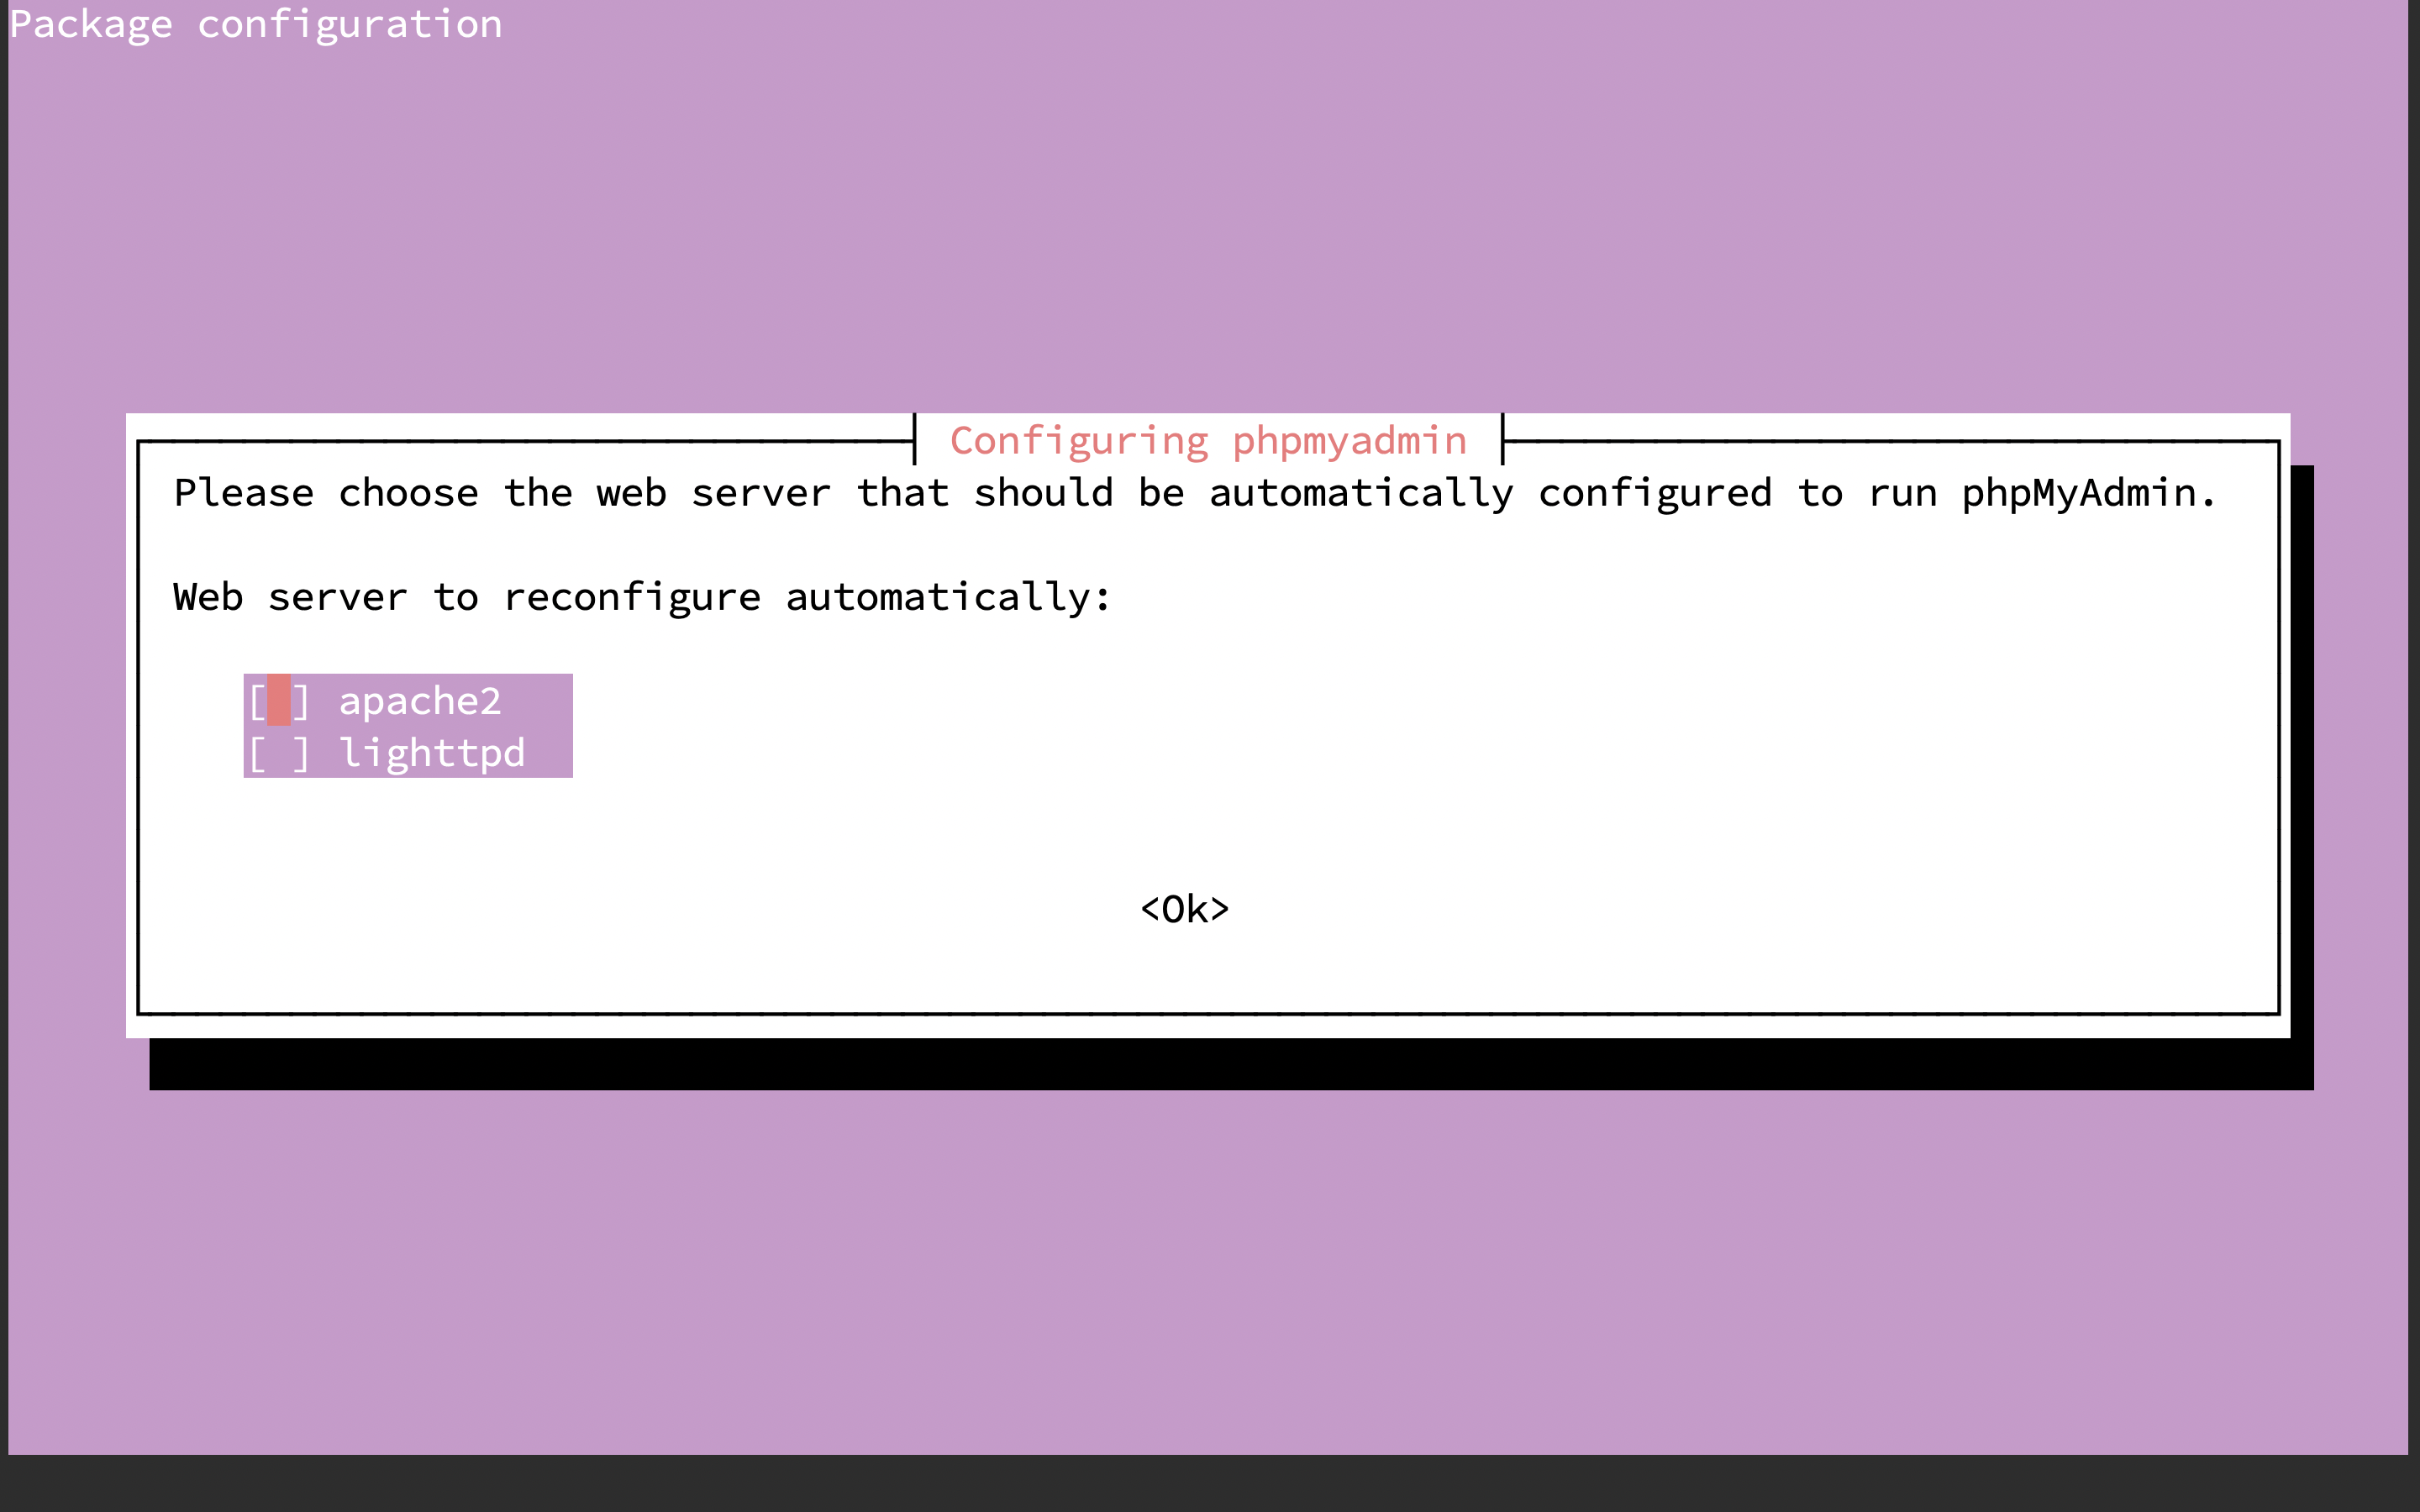
圖 3.4: phpMyAdmin 安裝導覽
這裏選擇 Yes 即可除非你想對 phpmyadmin 做更詳細的設定
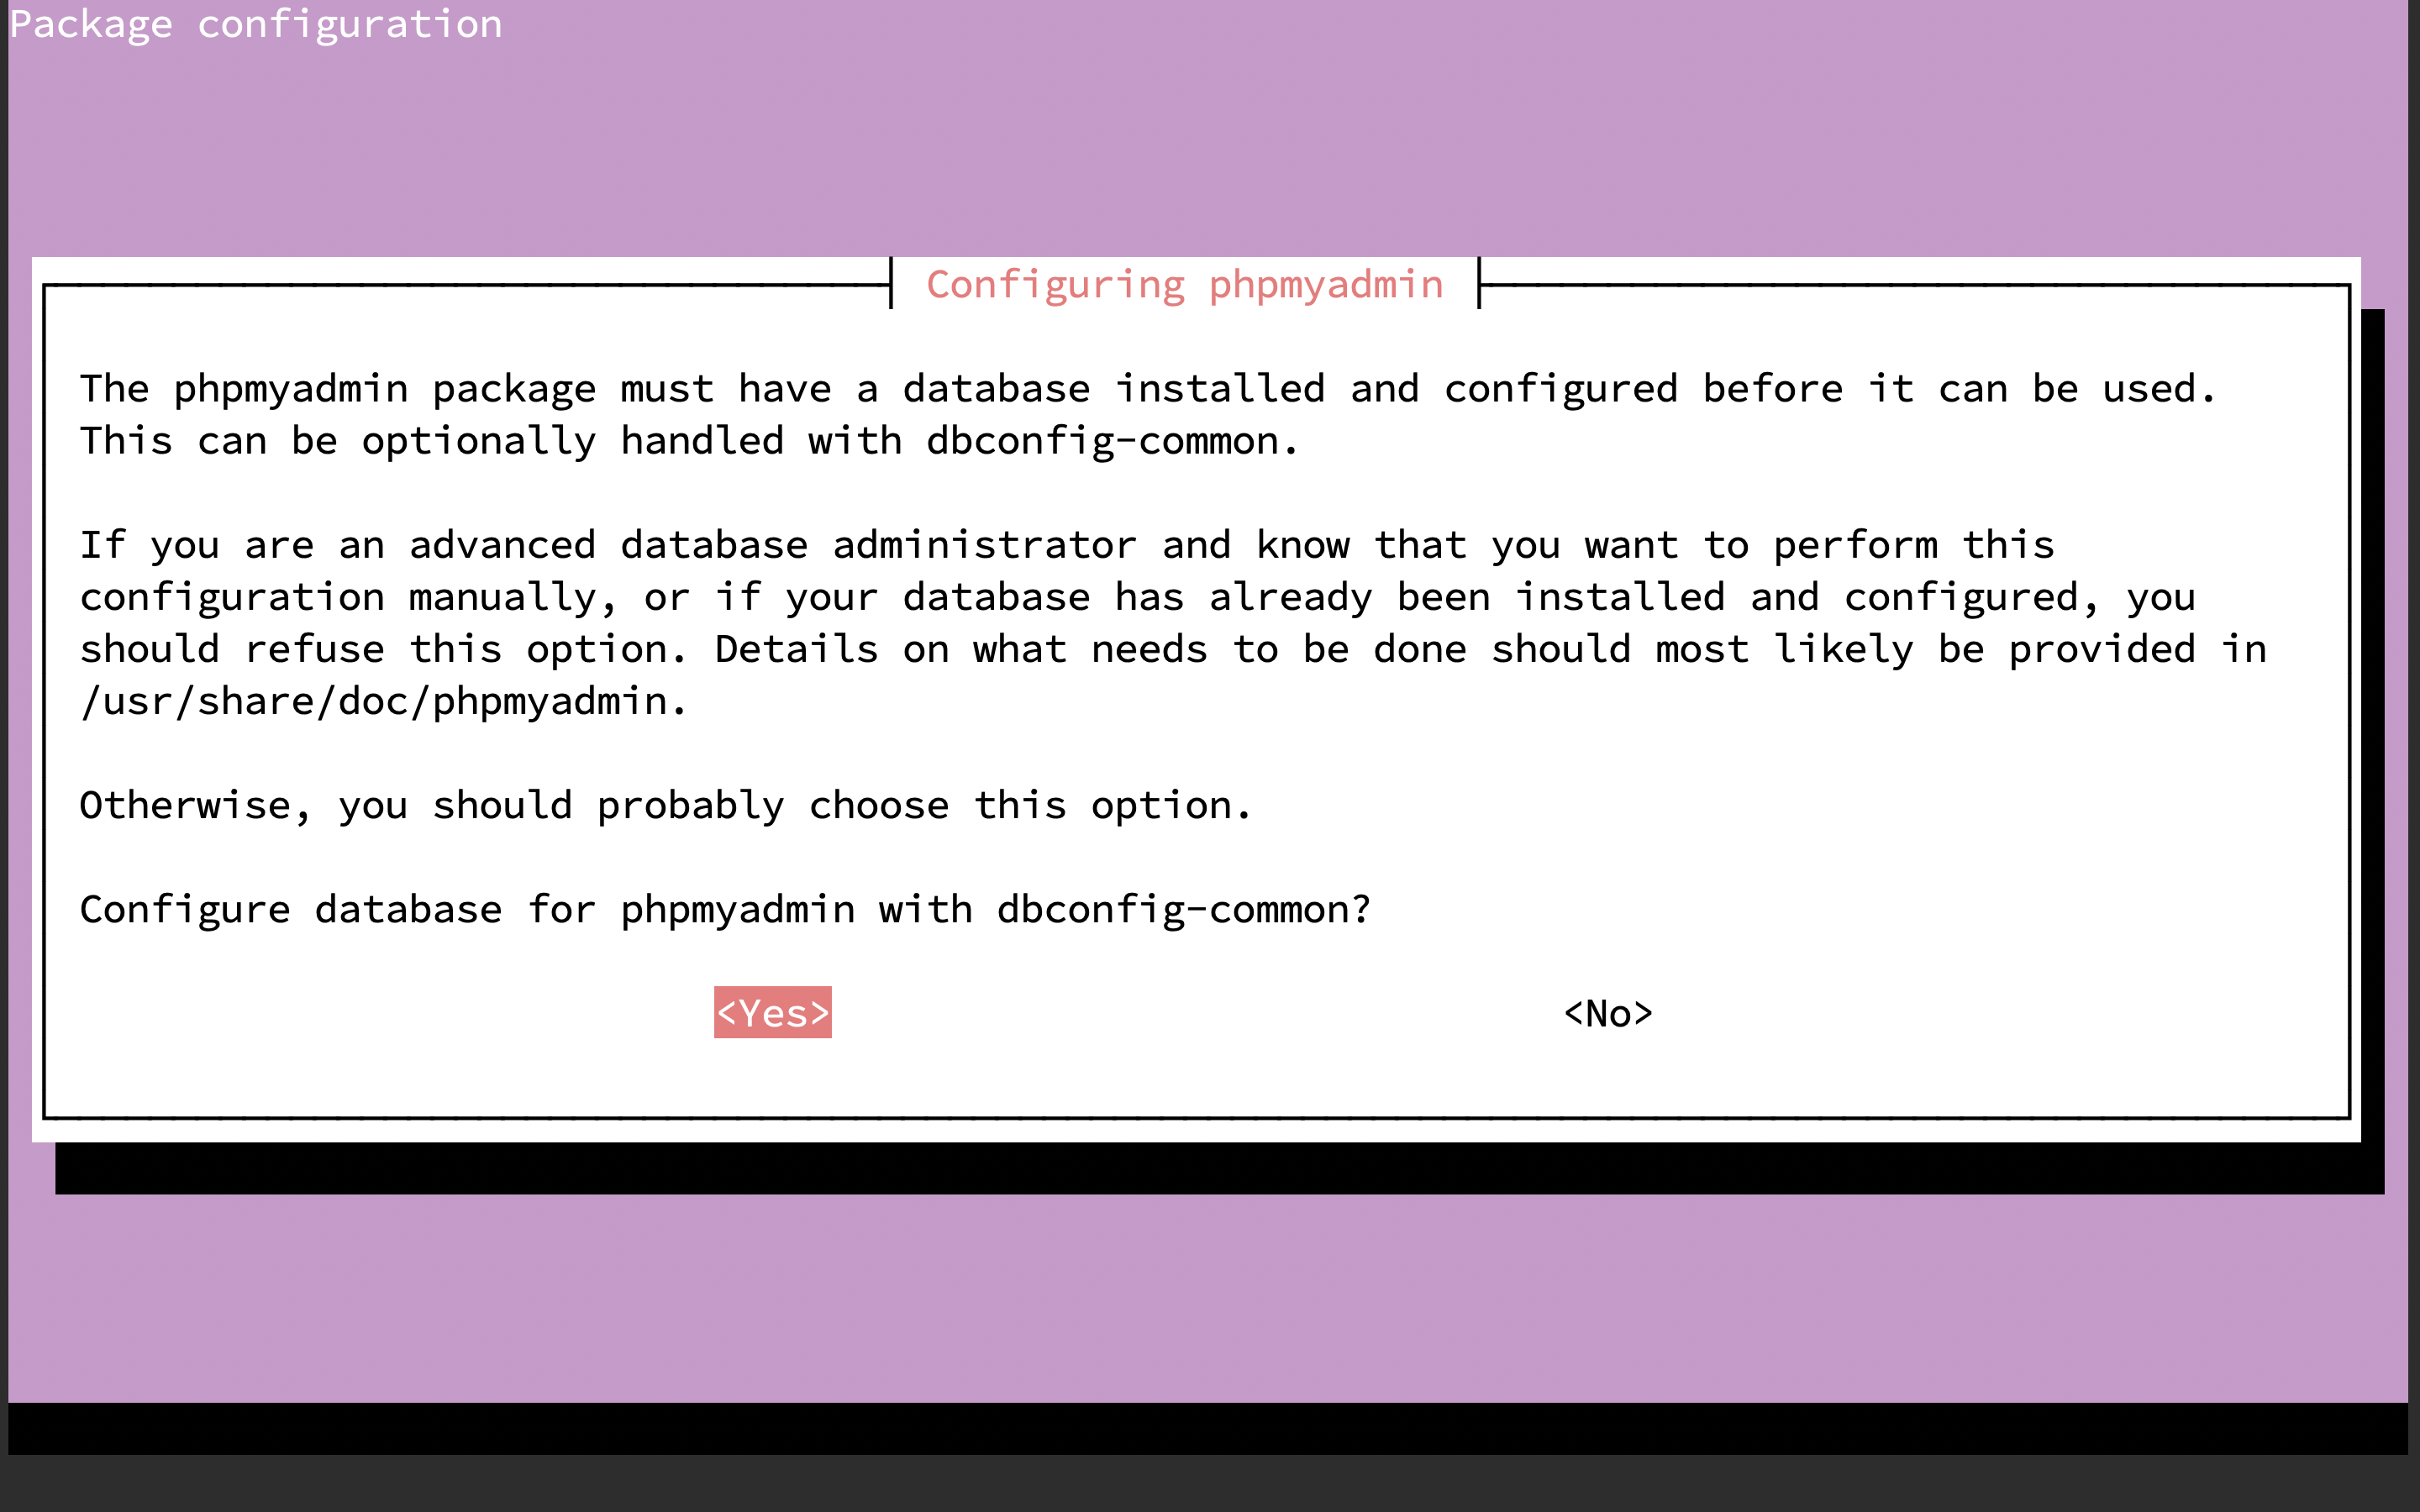
圖 3.5: phpMyAdmin 安裝導覽
留空會自動產生供 phpmyadmin 連線至 MySQL 用的密碼,所以這裡直接按 Ok
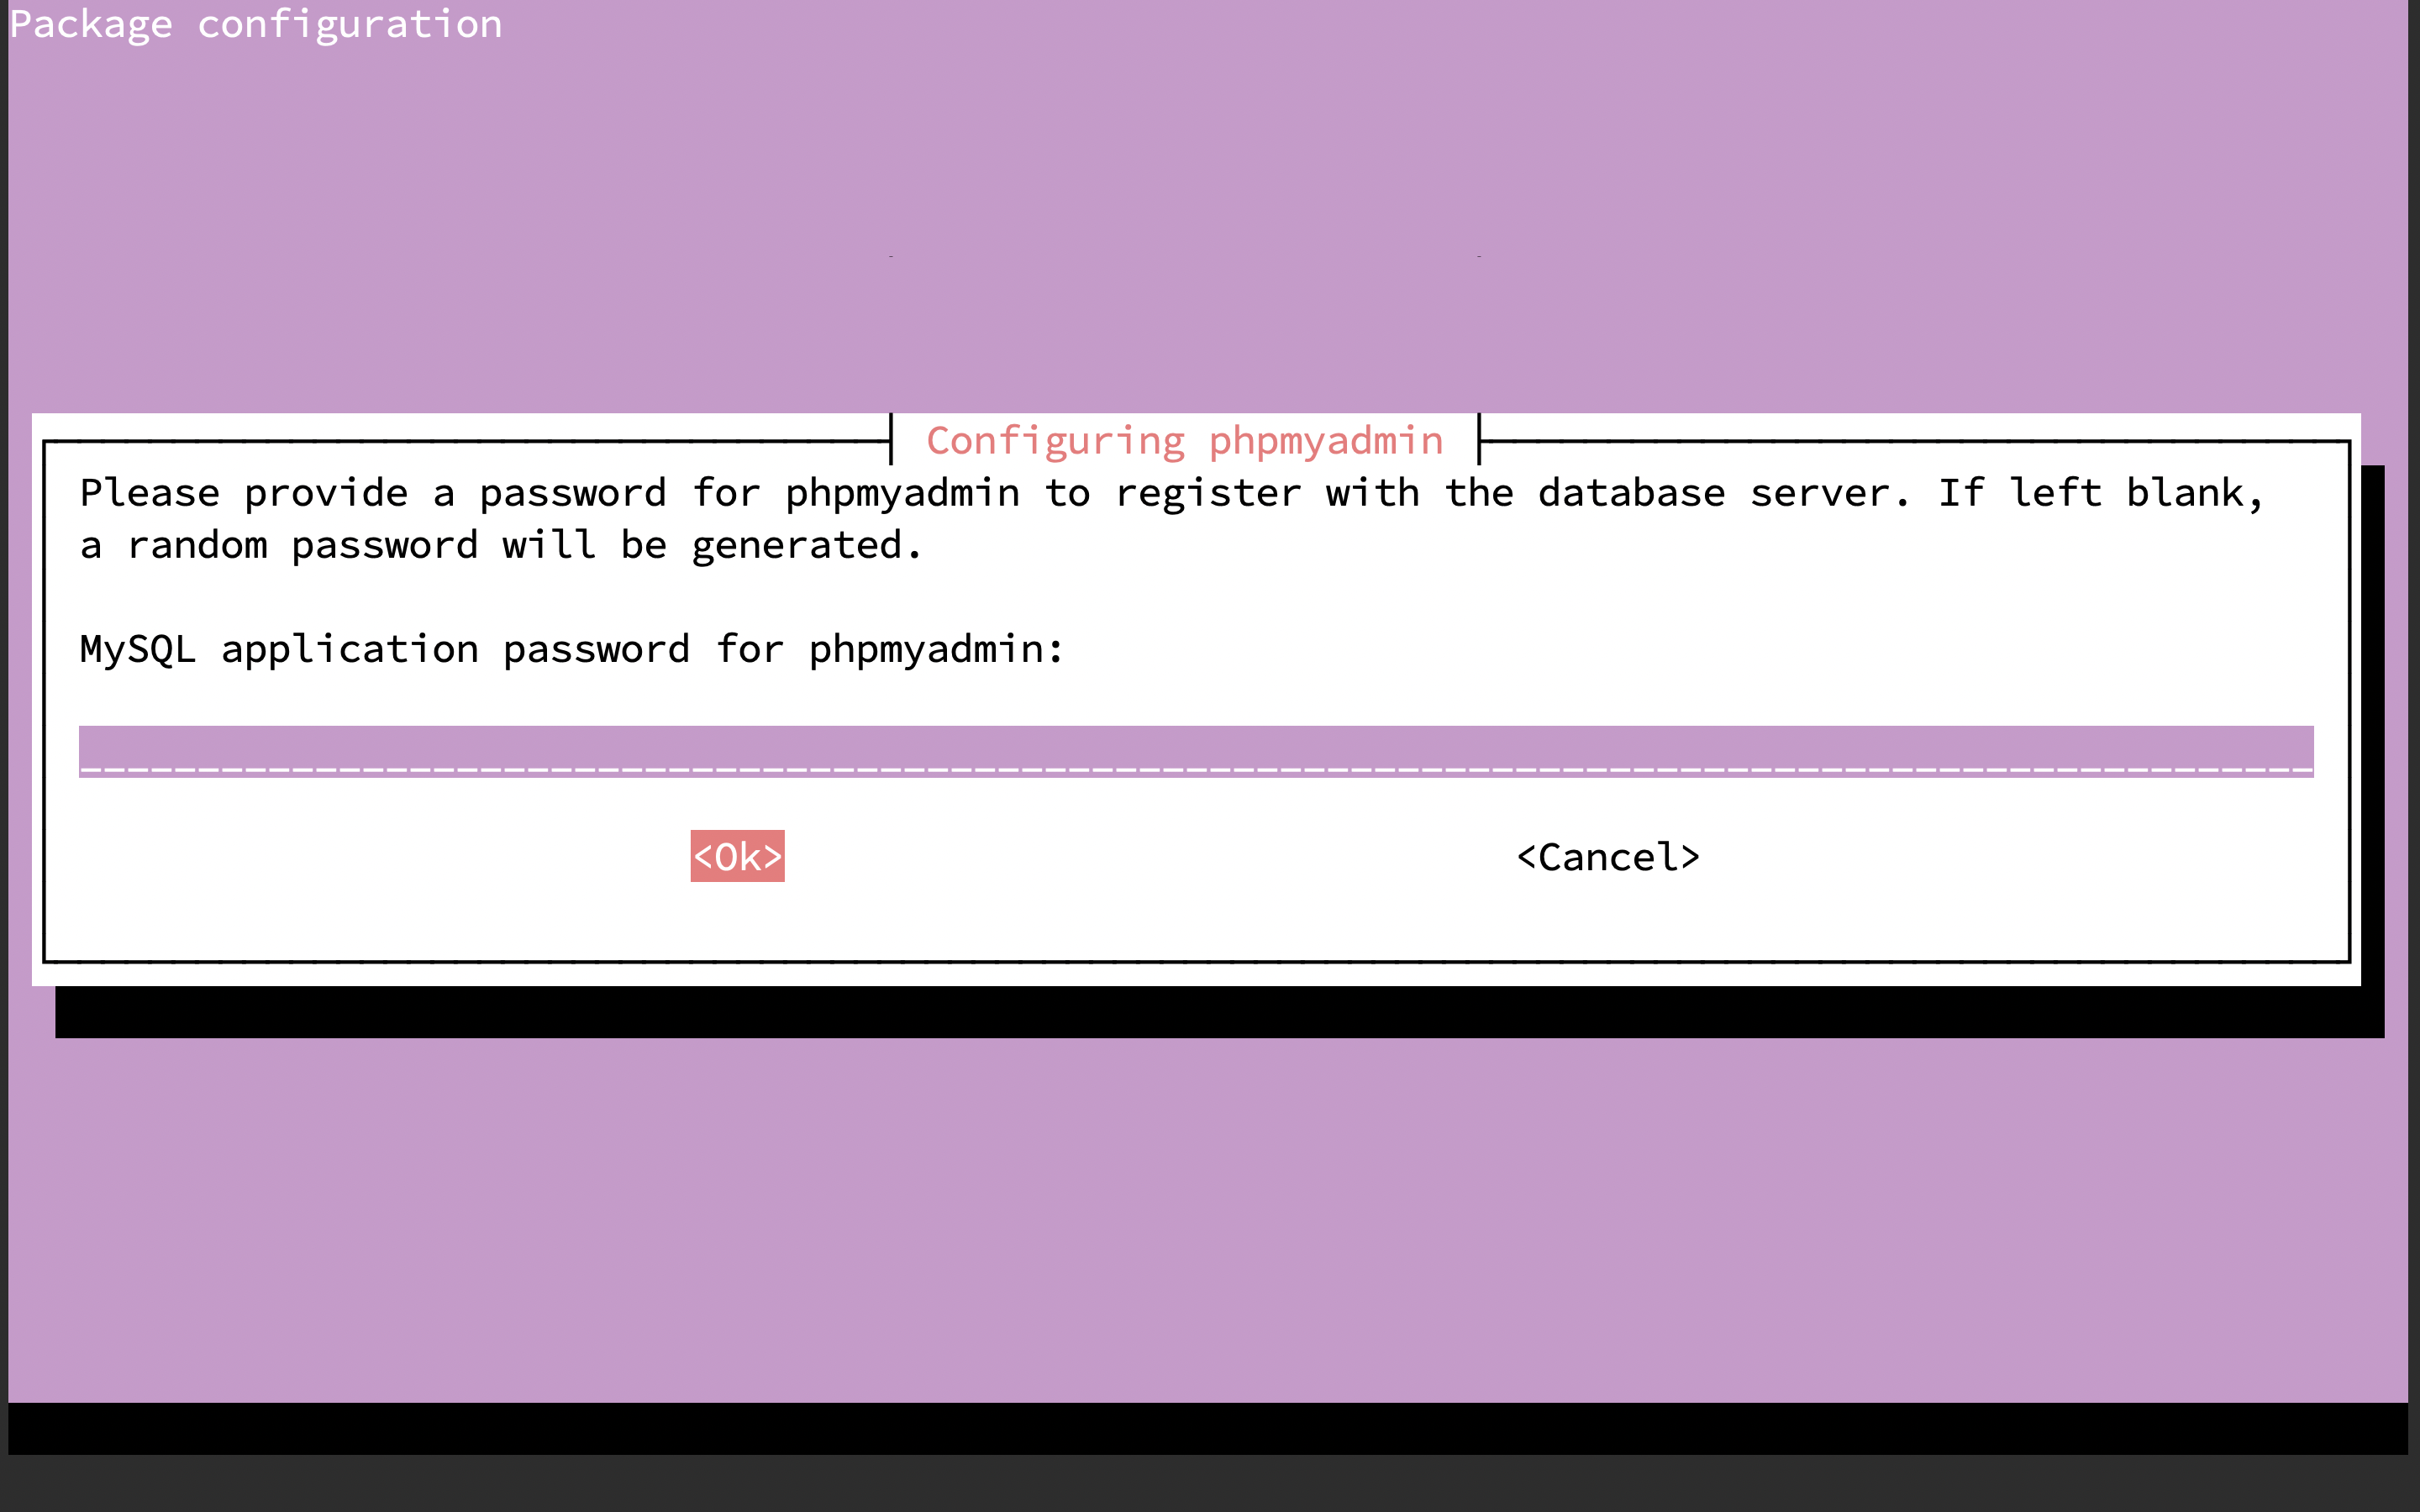
圖 3.6: phpMyAdmin 安裝導覽
當出現此錯誤時不用太慌張,是因為安裝 MySQL 時,有開啟 Validate Password 插件導致的,只需要透過下列指令暫時關閉即可。
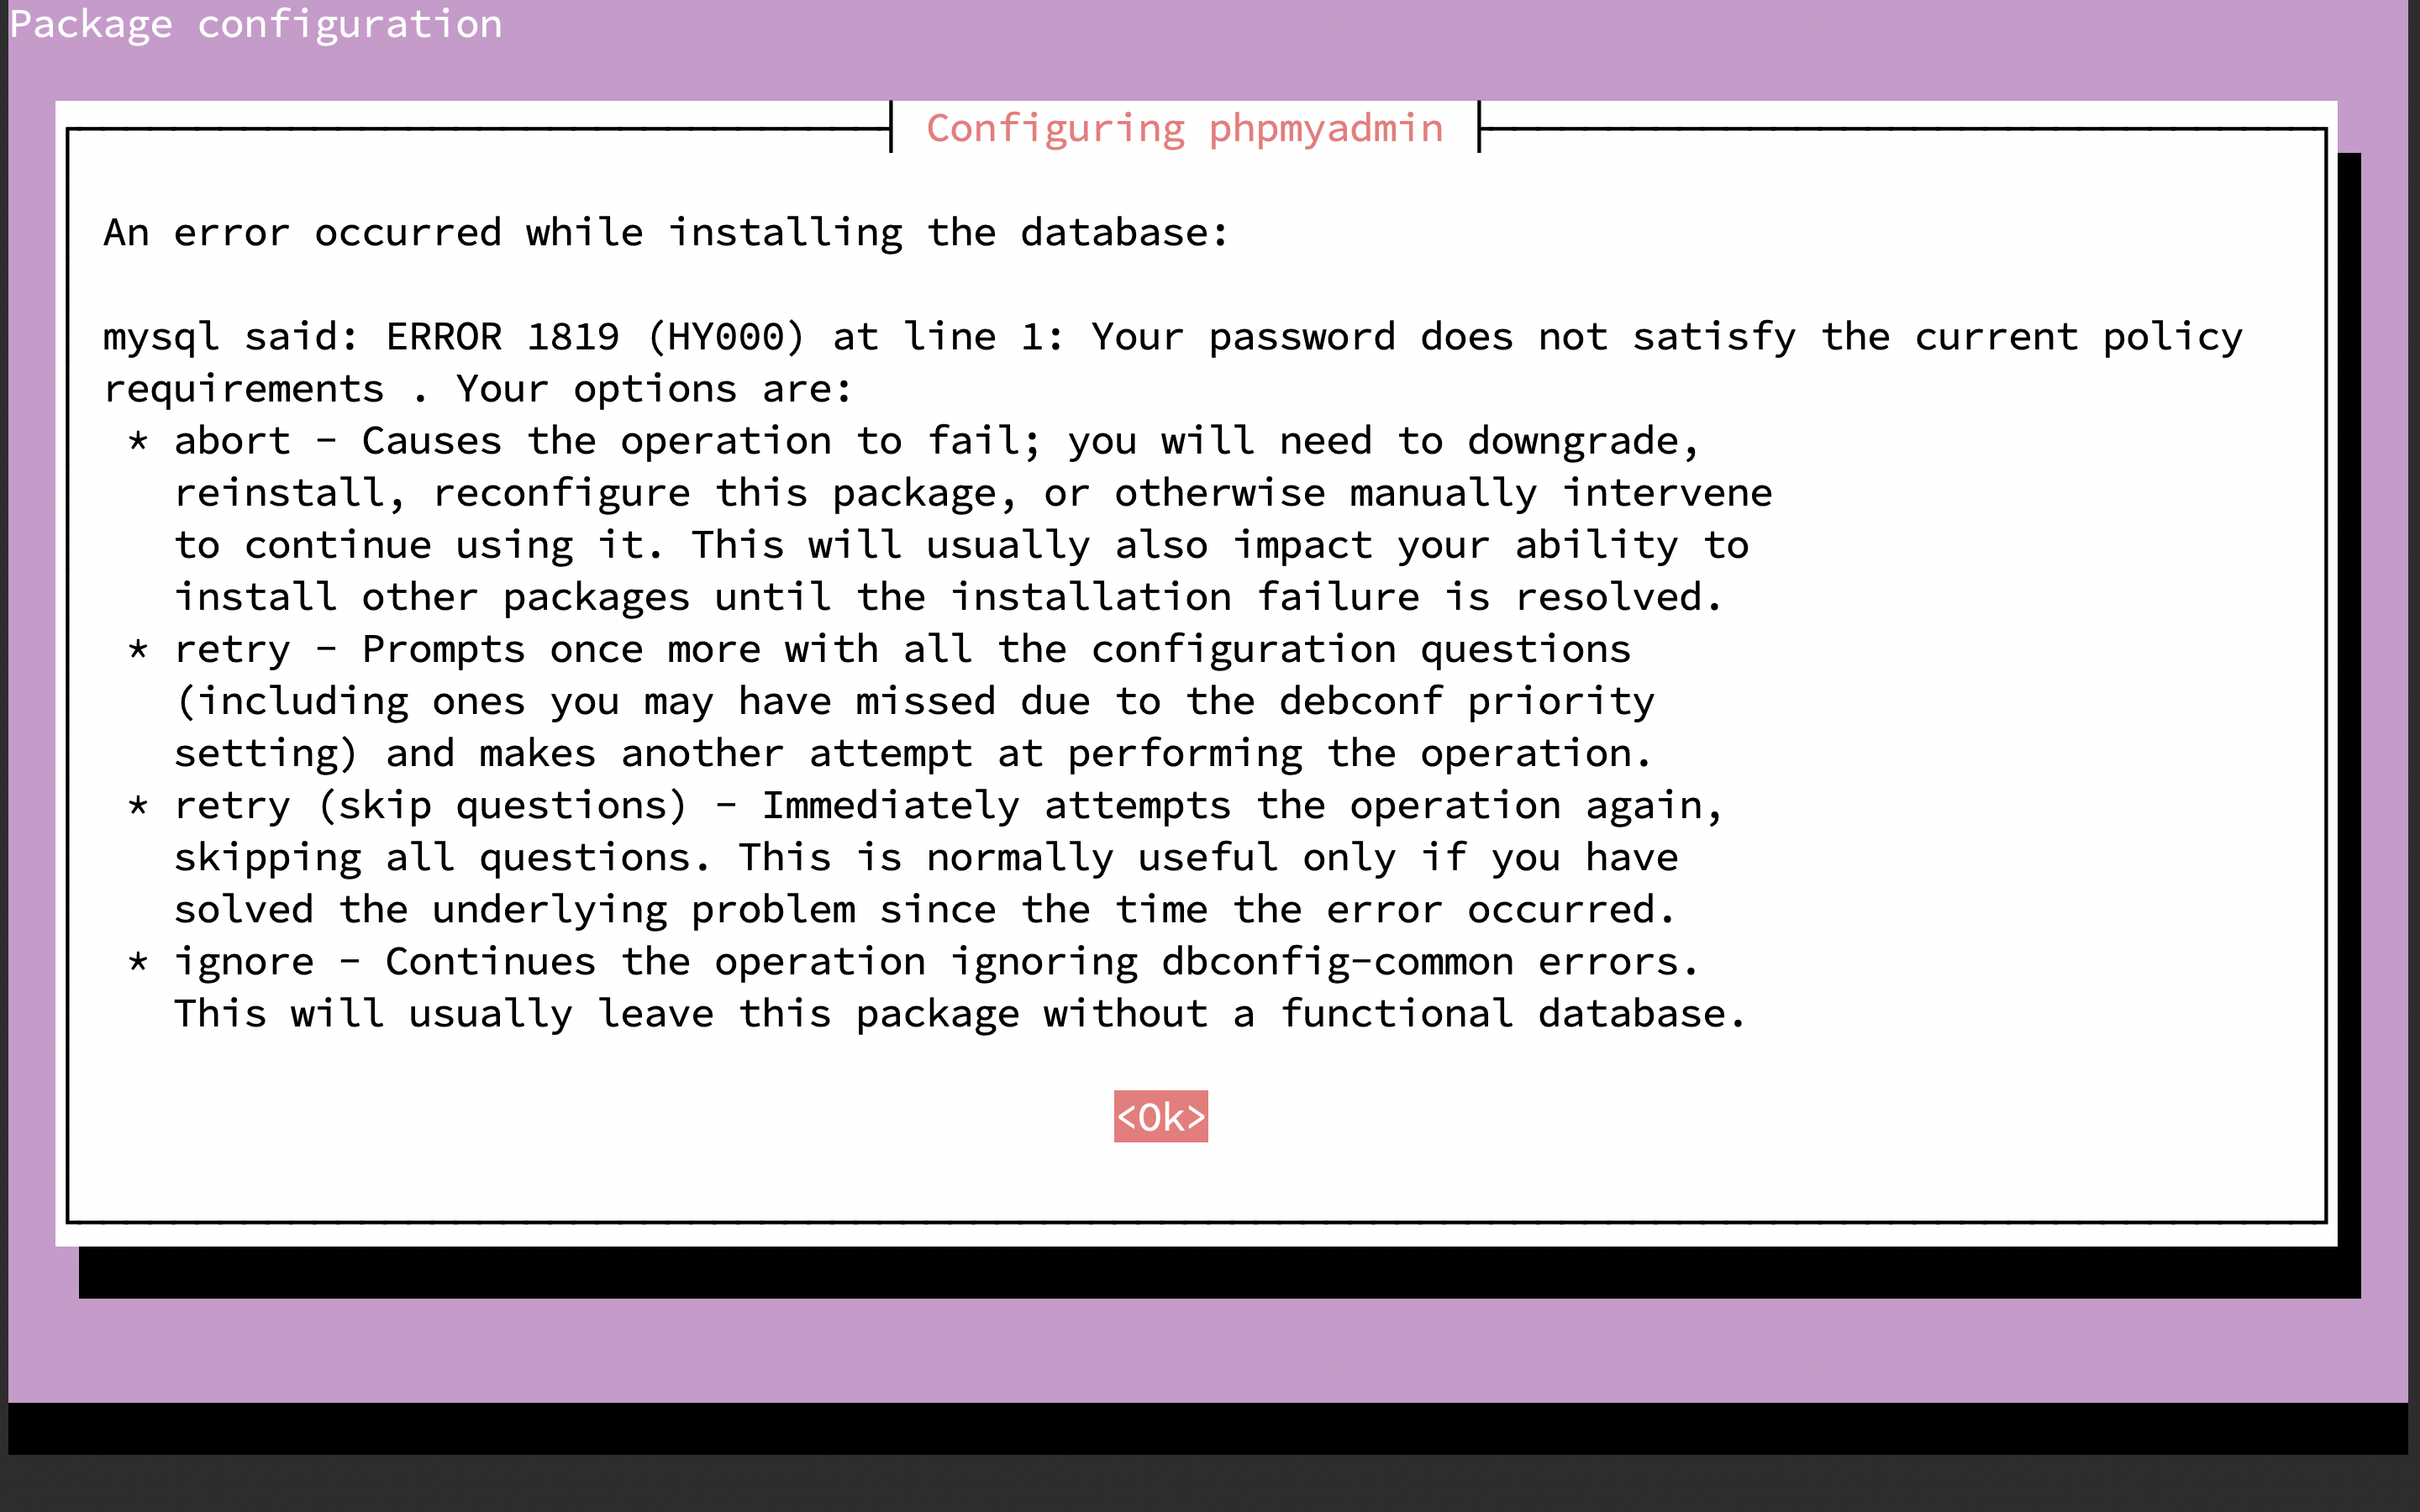
圖 3.7: phpMyAdmin 安裝導覽,錯誤訊息
以 root 登入資料庫
解除安裝插件 valid password
在安裝一次 phpmyadmin
將 valid password 裝回去
重新啟動 Apache2
從網站進入 phpMyAdmin 操作介面
http://<虛擬主機的 ip 地址>/phpmyadmin/如果找不到是正常的(如下圖),在 Ubuntu 20.04 安裝 phpMyAdmin 時,沒有正確的設定到 phpMyAdmin。 可以參考這裡三樓的解法:
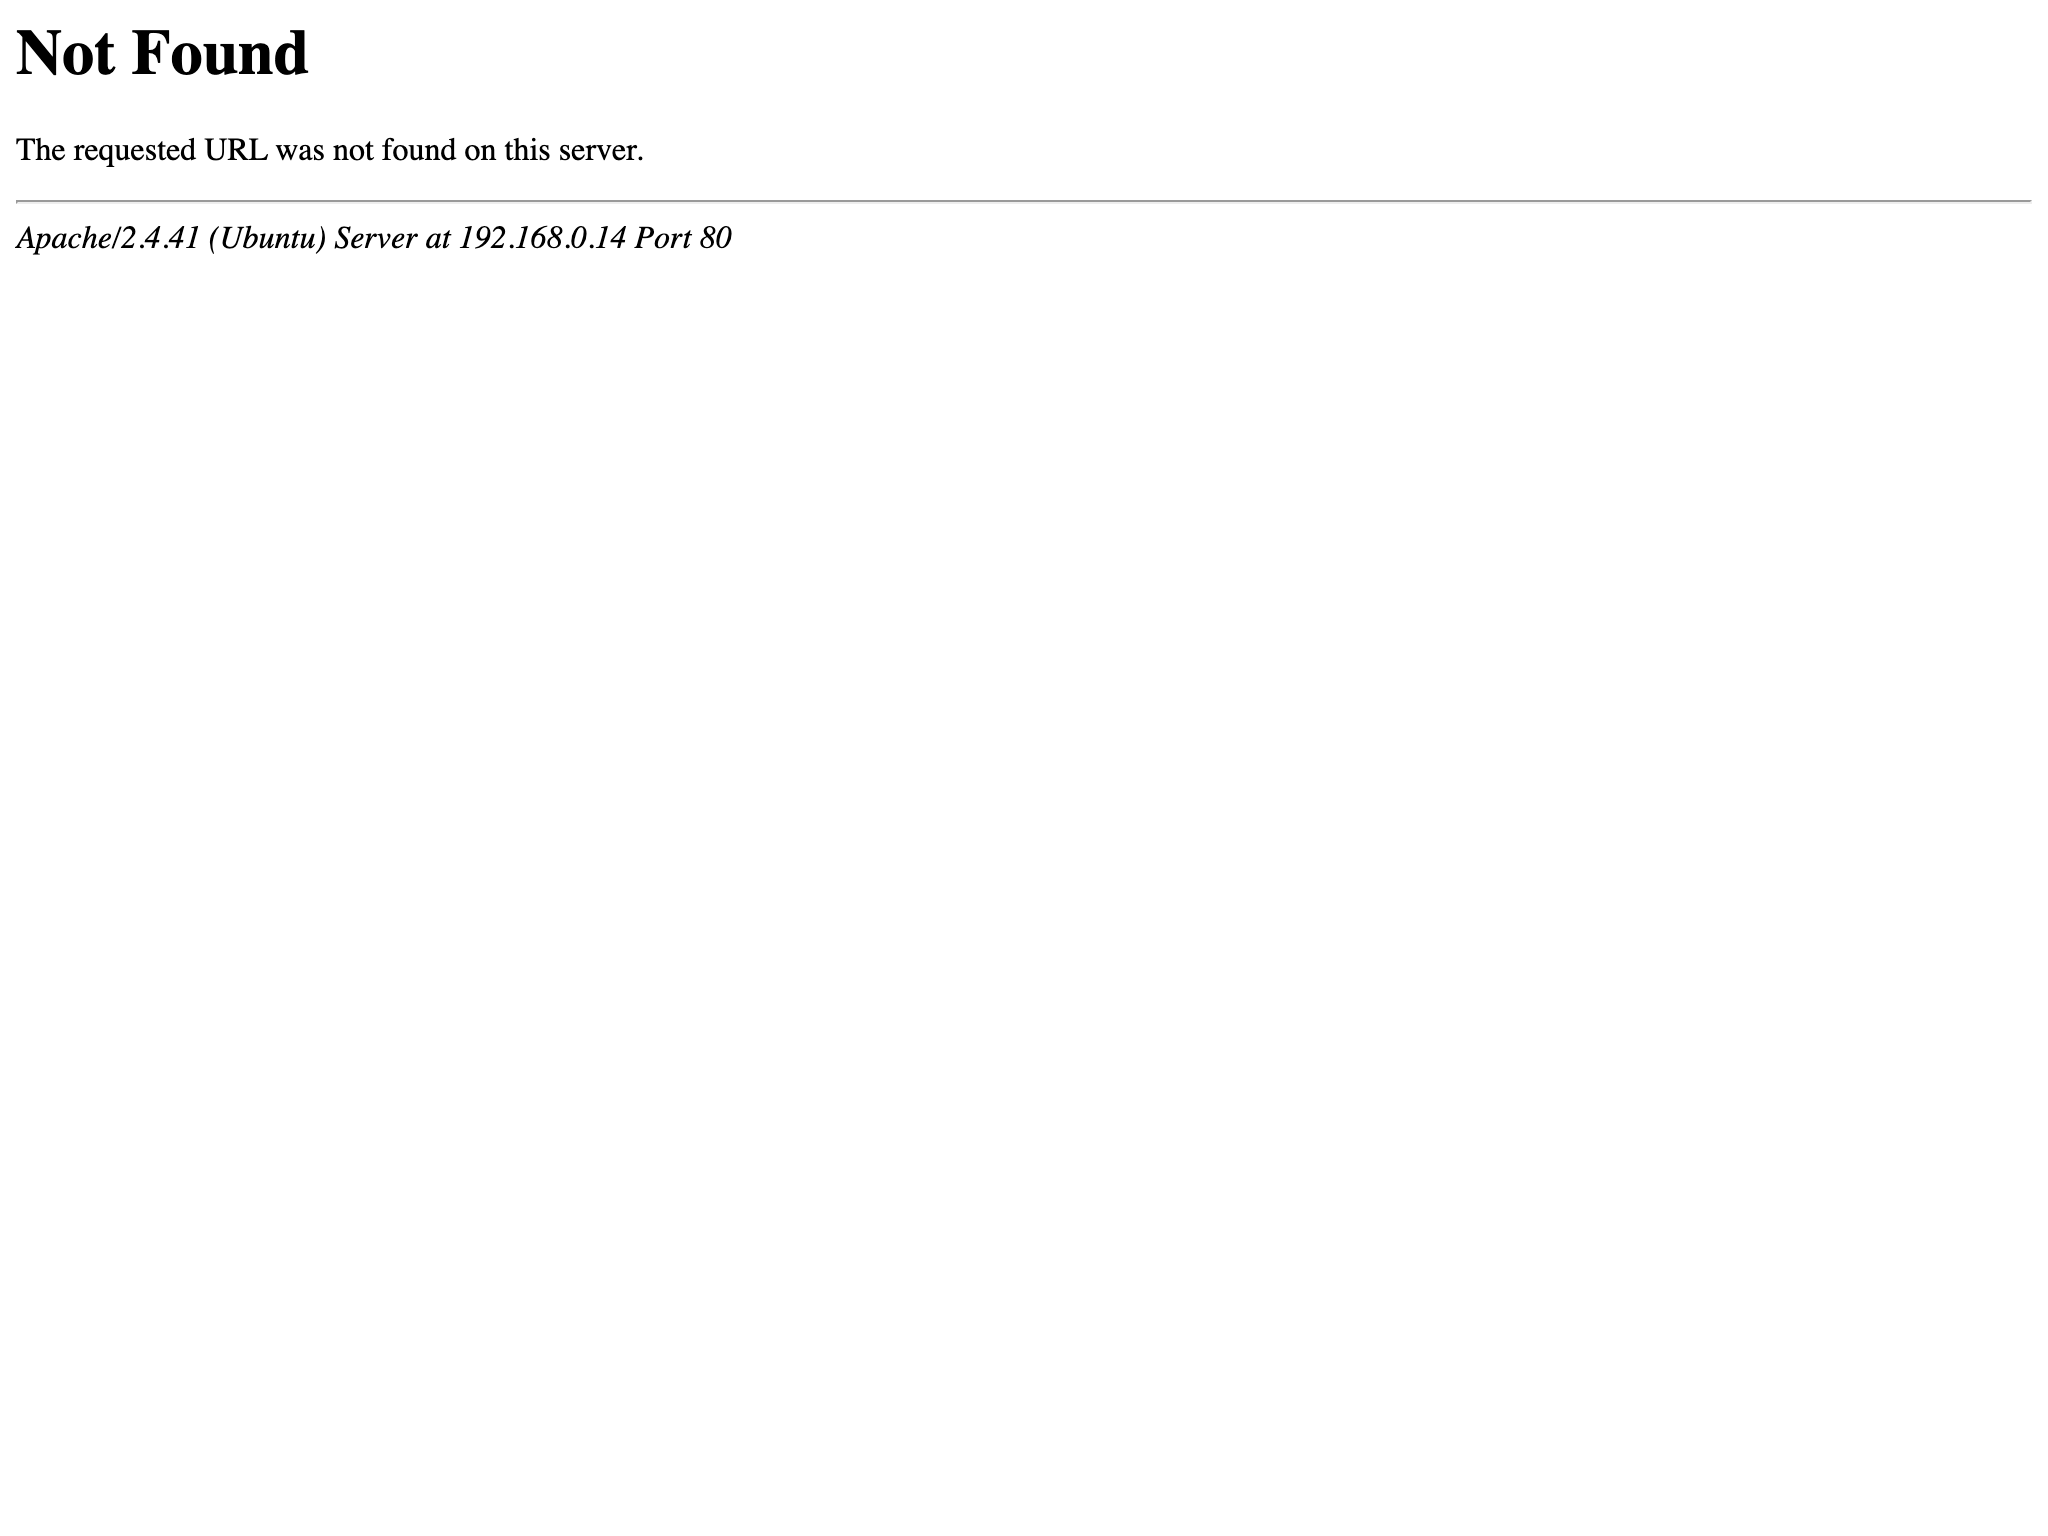
圖 3.8: phpMyAdmin 沒有成功設定的頁面
手動軟連結到 Apache2 的設定資料夾
接著啟動 phpMyAdmin 的設定檔
重新啟動 Apache2
再從瀏覽器嘗試一次連線
http://<虛擬主機的 ip 地址>/phpmyadmin/成功~ 🎊
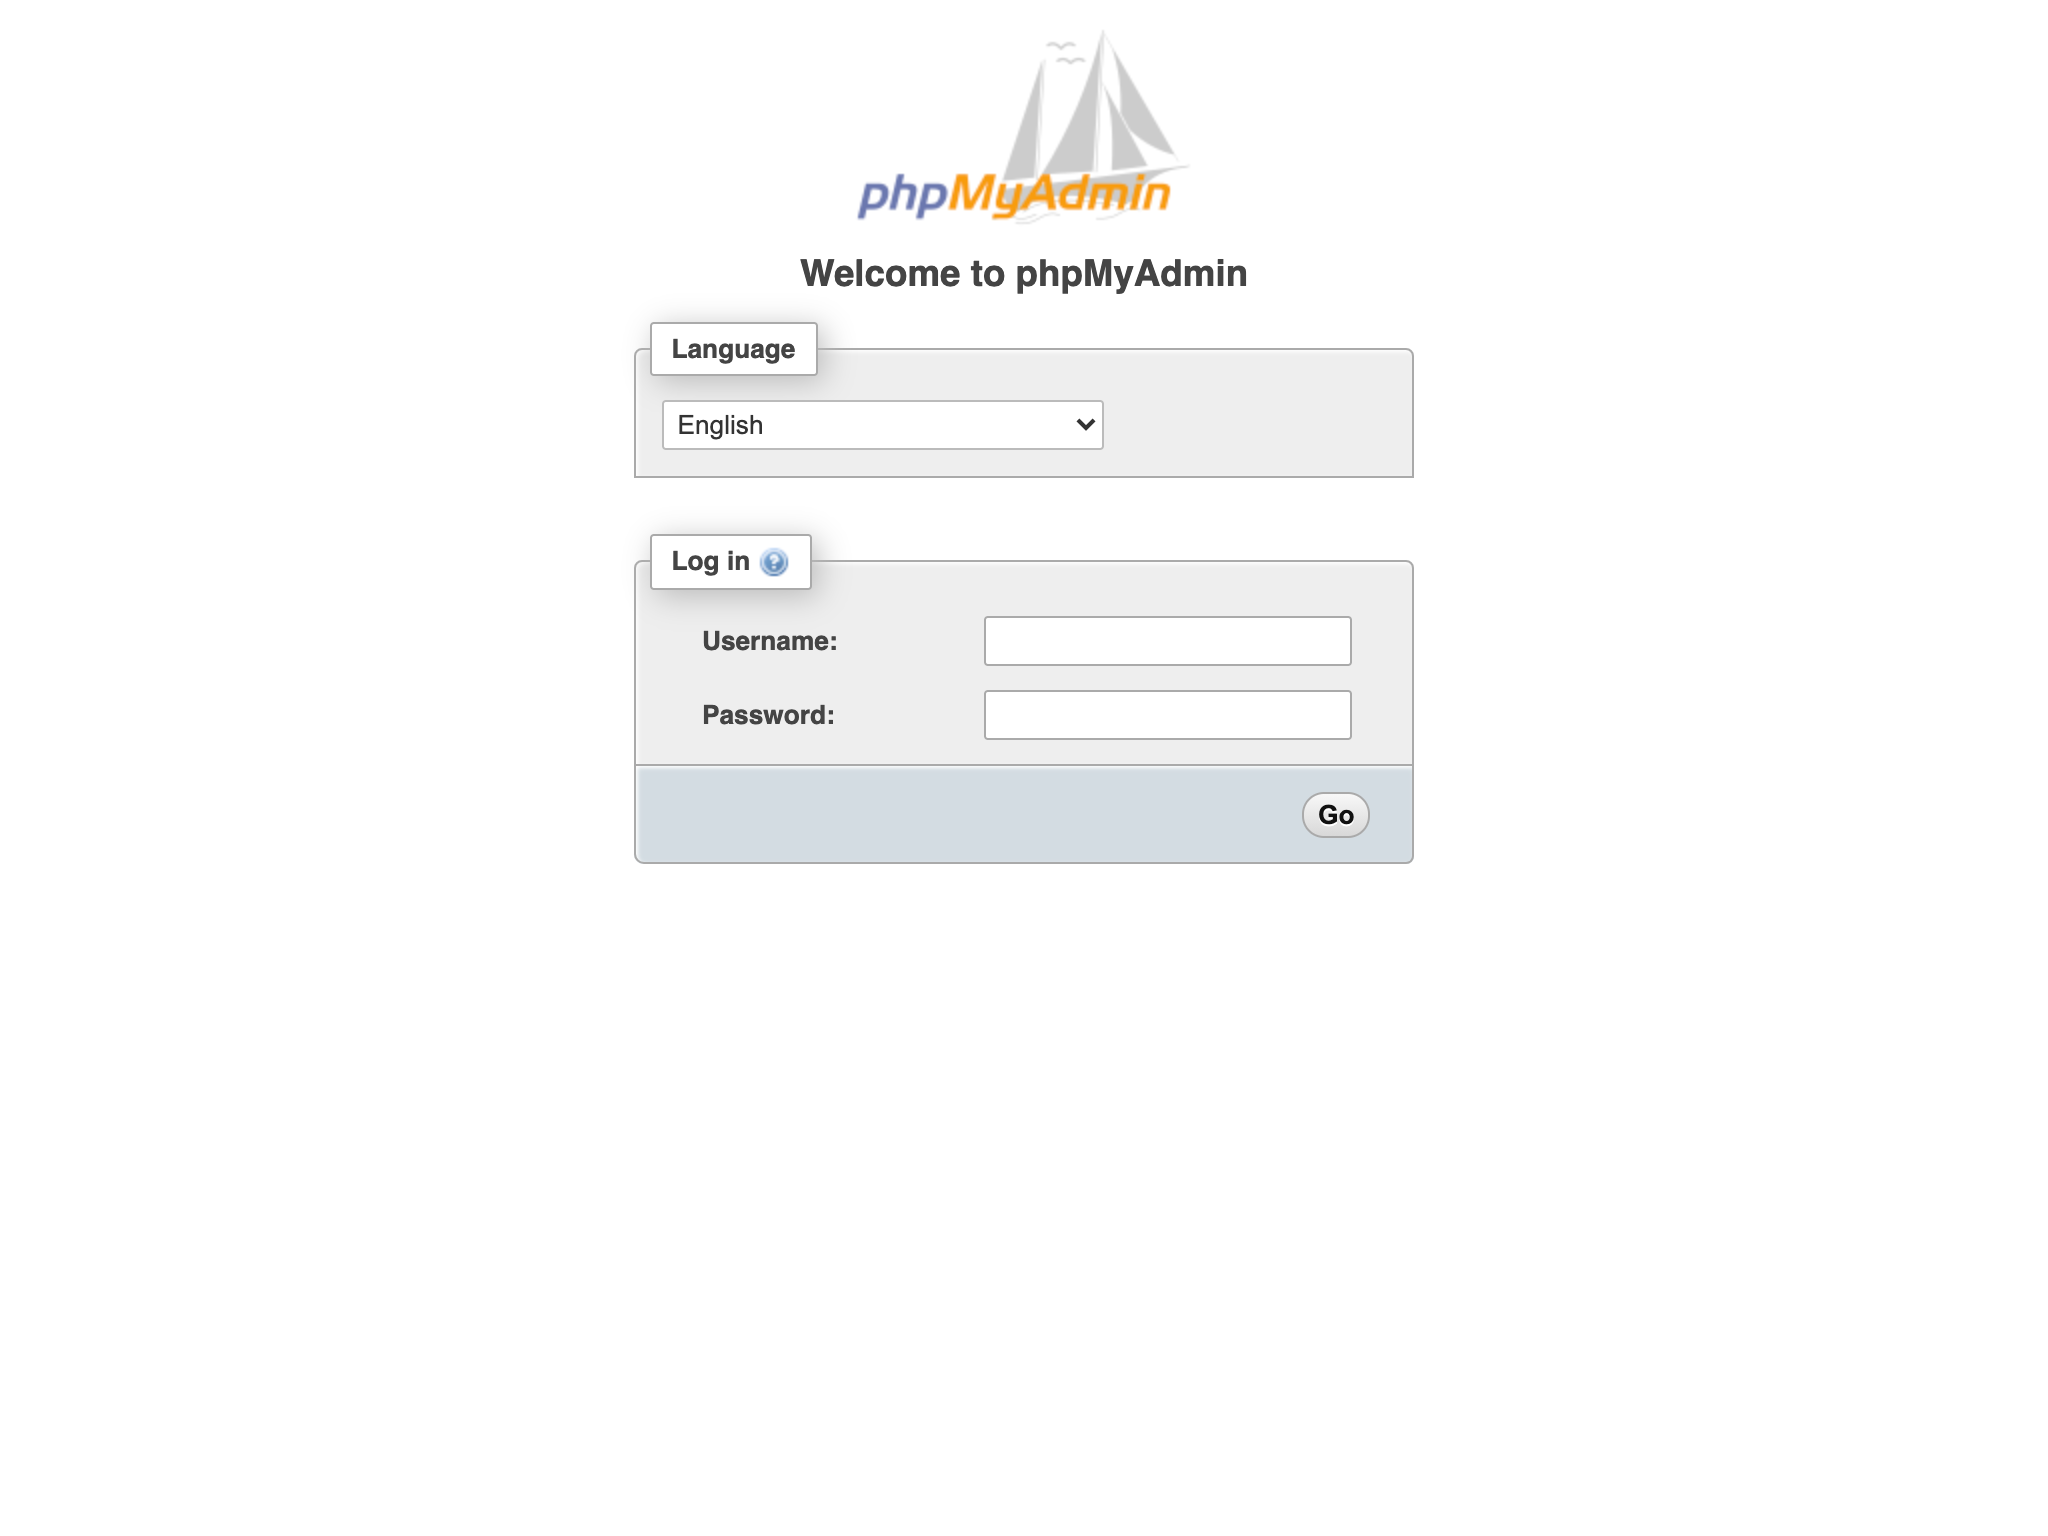
圖 3.9: phpMyAdmin 頁面
因為目前 MySQL 的版本 root 帳號驗證方式是使用 socket_auth。但是,phpMyAdmin 預設帳戶需要有密碼當入,所以這裡有兩個做法:
- 創建一個新的擁有所有權限的使用者
用 root 權限進入 MySQL 指令介面
建立一個使用密碼 asis0721 驗證的使用者 asis
賦予所有權限在 asis 使用者上
立刻刷新權限,使權限立即生效
- 將原本的帳號認證方式改掉
用 root 權限進入 MySQL 指令介面
將 root 使用者改為使用密碼 notSecureChangeMe 驗證
3.5.3 設定 phpMyAdmin
預設的網址 http://<虛擬機器的 ip 位置>/phpmyadmin 實在是太危險了,如果有人有意破壞,又被猜到管理員的密碼,那將會一發不可收拾,所以接下來要改的是 phpMyAdmin 在 Apache2 中的設定,將預設的位置改掉至少會安全一點。
/etc/phpmyadmin/apache.conf
# phpMyAdmin default Apache configuration

Alias /sql /usr/share/phpmyadmin # 變更這裡

<Directory /usr/share/phpmyadmin>
    Options SymLinksIfOwnerMatch
    DirectoryIndex index.php
    AllowOverride All # 新增這行

    [...]

</Directory>

[...]
因為 /etc/phpmyadmin/apache.conf 已軟連結(soft-link)至 /etc/apache2/conf-available/phpmyadmin.conf 所以變更apache.conf 時,位於 Apache2 中的設定檔也會跟著變更。
重新啟動 Apache2
從新的 ip 位址進入
http://<虛擬機器的 ip 位址>/sql/圖 3.10: 剛才更新的路由