章節 5 JupyterHub
本篇教學完全照著(mangecoeur et al. 2021)所寫的教學操作。旨在建立 Jupyterhub 環境。
5.2 設置 Python 3 環境
首先,一樣地,只要安裝套件都需要先更新套件來源。這裡我們用 && 連接兩個指令,讓更新與安裝依序執行。
安裝 python3-venv ,後續建立 python 虛擬環境時會用到
目前 Ubuntu 22.04 系統內建的 Python 為 Python 3.10,我們還是可以多裝一個叫做 python-is-python3 的套件,將 python 設為 python3 的別名,打指令時不用多打一個 3。
5.3 JupyterLab 與 JupyterHub
5.3.2 於虛擬環境中設置 JupyterLab 與 JupyterHub
利用 Python 的 venv 插件建立 Python 虛擬環境
wheel 是一種 Python 安裝套件的格式,比傳統的安裝格式;tar.gz 快許多,以利減少安裝時間
這裡將 jupyterhub 安裝至 /opt/jupyterhub 的虛擬環境中
套件 ipywidget 適用於 jupyter、jupyterhub 中,創建互動式工具,讓使用者更方便的以下拉式選單、按鈕等等與程式碼互動。
這裡安裝 nodejs。首先將 Nodesource GPG 金鑰安裝至系統上
sudo apt-get update && \
  sudo apt-get install -y ca-certificates curl gnupg && \
  sudo mkdir -p /etc/apt/keyrings && \
  curl -fsSL https://deb.nodesource.com/gpgkey/nodesource-repo.gpg.key | sudo gpg --dearmor -o /etc/apt/keyrings/nodesource.gpg
添加軟體來源
NODE_MAJOR=20 && \
  echo "deb [signed-by=/etc/apt/keyrings/nodesource.gpg] https://deb.nodesource.com/node_$NODE_MAJOR.x nodistro main" | sudo tee /etc/apt/sources.list.d/nodesource.list
更新並透過 APT 安裝 nodejs
最後,以全域的方式安裝 configurable-http-proxy,使 jupyter 可以順利找到程式
5.3.3 設定 JupyterHub
於 /opt/jupyterhub/etc/ 資料夾建立 jupyterhub 資料夾存放設定。
切換至設定 jupyterhub 資料夾
產生預設的設定檔案
用編輯器編輯剛才產生的設定檔案
/opt/jupyterhub/etc/jupyterhub/jupyterhub_config.py
5.3.4 新增開機自動啟動 JupyterHub 的服務
在剛才的設定資料夾裡面新增 systemd 資料夾
寫入 JupyterHub 的服務設定
/opt/jupyterhub/etc/systemd/jupyterhub.service
[Unit]
Description=JupyterHub
After=syslog.target network.target

[Service]
User=root
Environment="PATH=/bin:/usr/local/sbin:/usr/local/bin:/usr/sbin:/usr/bin:/opt/jupyterhub/bin"
ExecStart=/opt/jupyterhub/bin/jupyterhub -f /opt/jupyterhub/etc/jupyterhub/jupyterhub_config.py

[Install]
WantedBy=multi-user.target
最後軟連結至系統服務設定中
使 systemd 重新讀取設定,而不用重新啟動整個系統
將 JupyterHub 服務設為在系統啟動時自動運行
手動立即啟動 Jupyterhub 服務
用 status 指令查詢運行狀態是否正常
● jupyterhub.service - JupyterHub
     Loaded: loaded (/etc/systemd/system/jupyterhub.service; enabled; vendor preset: enabled)
     Active: active (running) since Sun 2023-08-27 05:23:20 UTC; 2s ago
   Main PID: 109122 (jupyterhub)
      Tasks: 9 (limit: 2218)
     Memory: 78.2M
        CPU: 728ms
     CGroup: /system.slice/jupyterhub.service
             ├─109122 /opt/jupyterhub/bin/python3 /opt/jupyterhub/bin/jupyterhub -f /opt/jupyterhub/etc/jupyterhub/jupy>
             └─109126 node /bin/configurable-http-proxy --ip "" --port 8000 --api-ip 127.0.0.1 --api-port 8001 --error->
Aug 27 05:23:21 asis0721 jupyterhub[109126]: 05:23:21.532 [ConfigProxy] info: Proxying http://*:8000 to (no default)
Aug 27 05:23:21 asis0721 jupyterhub[109126]: 05:23:21.534 [ConfigProxy] info: Proxy API at http://127.0.0.1:8001/api/ro>
Aug 27 05:23:21 asis0721 jupyterhub[109122]: [I 2023-08-27 05:23:21.794 JupyterHub app:3178] Hub API listening on http:>
Aug 27 05:23:21 asis0721 jupyterhub[109126]: 05:23:21.794 [ConfigProxy] info: 200 GET /api/routes
Aug 27 05:23:21 asis0721 jupyterhub[109126]: 05:23:21.796 [ConfigProxy] info: 200 GET /api/routes
Aug 27 05:23:21 asis0721 jupyterhub[109122]: [I 2023-08-27 05:23:21.798 JupyterHub proxy:477] Adding route for Hub: /jh>
Aug 27 05:23:21 asis0721 jupyterhub[109126]: 05:23:21.801 [ConfigProxy] info: Adding route /jhub -> http://127.0.0.1:80>
Aug 27 05:23:21 asis0721 jupyterhub[109126]: 05:23:21.801 [ConfigProxy] info: Route added /jhub -> http://127.0.0.1:8081
Aug 27 05:23:21 asis0721 jupyterhub[109126]: 05:23:21.802 [ConfigProxy] info: 201 POST /api/routes/jhub
Aug 27 05:23:21 asis0721 jupyterhub[109122]: [I 2023-08-27 05:23:21.803 JupyterHub app:3245] JupyterHub is now running >
lines 1-21/21 (END)
5.4 JupyterHub 中的運算核心
5.4.1 Conda 的 Python🐍 環境
到官方下載頁面複製最新的安裝程式的連結
將下載下來的腳本加上執行權限
以超級使用者執行
執行後,會要求你先閱讀使用者授權條款
Welcome to Anaconda3 2023.07-2

In order to continue the installation process, please review the license
agreement.
Please, press ENTER to continue
>>>
這裡按 Enter
==================================================
End User License Agreement - Anaconda Distribution
==================================================

Copyright 2015-2023, Anaconda, Inc.

All rights reserved under the 3-clause BSD License:

This End User License Agreement (the "Agreement") is a legal agreement between you and Anaconda, Inc. ("Anaconda") and g
overns your use of Anaconda Distribution (which was formerly known as Anaconda Individual Edition).

Subject to the terms of this Agreement, Anaconda hereby grants you a non-exclusive, non-transferable license to:

  * Install and use the Anaconda Distribution (which was formerly known as Anaconda Individual Edition),
  * Modify and create derivative works of sample source code delivered in Anaconda Distribution from Anaconda's reposito
ry, and;
  * Redistribute code files in source (if provided to you by Anaconda as source) and binary forms, with or without modif
ication subject to the requirements set forth below, and;

Anaconda may, at its option, make available patches, workarounds or other updates to Anaconda Distribution. Unless the u
pdates are provided with their separate governing terms, they are deemed part of Anaconda Distribution licensed to you a
s provided in this Agreement.  This Agreement does not entitle you to any support for Anaconda Distribution.

Anaconda reserves all rights not expressly granted to you in this Agreement.

Redistribution and use in source and binary forms, with or without modification, are permitted provided that the followi
ng conditions are met:

  * Redistributions of source code must retain the above copyright notice, this list of conditions and the following dis
--More--
閱讀完後鍵入 q 退出
Do you accept the license terms? [yes|no]
[no] >>>
這裡輸入 yes 同意使用者授權合約
接下來 Anaconda 安裝程式會提示要安裝在預設的安裝目錄 /root/anaconda3。這裡不採用預設的安裝目錄,取而代之的是將 /opt/conda 指定為安裝路徑,並等待安裝程式安裝
Anaconda3 will now be installed into this location:
/root/anaconda3

  - Press ENTER to confirm the location
  - Press CTRL-C to abort the installation
  - Or specify a different location below

[/root/anaconda3] >>>
完成後,會問你要不要當你執行 shell 之後,自動關聯 conda 的指令至終端機,這裡填入 no。因為並不是每次開終端機都會用到 conda
done
installation finished.
Do you wish the installer to initialize Anaconda3
by running conda init? [yes|no]
[no] >>>
建立 conda 放置虛擬環境的資料夾
接下來切換至 /opt/conda/envs/ 資料夾,新增給 jupyterhub 的 python 核心
填入以下設定
/opt/conda/envs/environment.yml
name: python
channels:
  - defaults
dependencies:
  - python=3.10
  - ipykernel
  - pip:
    - ipython-sql
    - PyMySQL
    - matplotlib
    - plotly
    - pandas
prefix: /opt/conda/envs/python
以剛才新增的設定檔建立 python 運算核心
sudo /opt/conda/envs/python/bin/python -m \
    ipykernel install \
    --prefix=/opt/jupyterhub/ \
    --name 'python3' \
    --display-name "Python (預設)"
完成後,測試 JupyterHub 的服務是否正常。JupyterHub 預設的埠號會開在 8000,所以如果要測試 JupyterHub 服務,需要設定防火牆使外部可以存取埠號 8000 的 JupyterHub。
最後透過網址訪問 JupyterHub
http://<虛擬機器的 ip 地址>:8000
圖 5.1: jupyterhub 登入後的頁面
5.4.2 R 環境
用 root 的身份為 R 安裝套件 IRkernel
sudo su - -c "R -e \"
    IRkernel::installspec(
        name='ir43',
        displayname='R 4.3',
        user=FALSE,
        prefix='/opt/jupyterhub'
    )
\""
Error in IRkernel::installspec(name = "ir41", displayname = "R 4.1") :
jupyter-client has to be installed but “jupyter kernelspec --version” exited with code 127.
In addition: Warning message:
In system2("jupyter", c("kernelspec", "--version"), FALSE, FALSE) :
error in running command
Execution halted主要原因是因為,系統找不到 jupyter 指令。可以自己在終端機重現一次:
Command 'jupyter' not found, but can be installed with:

sudo snap install jupyter       # version 1.0.0, or
sudo apt  install jupyter-core  # version 4.6.3-3

See 'snap info jupyter' for additional versions.
找不到指令,出現了推薦安裝方式,不過這不是我們要的。
這裡會用一個技巧讓系統找得到位於 /opt/jupyter/bin/jupyter 的指令。 藉由軟連結到系統的 path 變數中讓 R 找得到。
首先先印出 PATH 變數:
/home/asis/bin:/usr/local/sbin:/usr/local/bin:/usr/sbin:/usr/bin:/sbin:/bin:/usr/games:/usr/local/games:/snap/bin放置於其中一個位置就行,注意不要放置在 /home 底下,執行 R 時事使用 root 權限,用 root 權限執行時,並不會翻 /home/asis/ 底下的資料夾。 這裡我們選用 /usr/local/bin 作為軟連結放置 jupyter 執行檔。
接著用 which 指令查詢指令是否存在:
列出二進制執行檔存在位置:
lrwxrwxrwx 1 root root 27 Sep 17 16:23 /usr/local/bin/jupyter -> /opt/jupyterhub/bin/jupyter可以看到指令 jupyter 之所以會存在是因為軟連結至 /opt/jupyterhub/bin/jupyter 後,因為 /usr/local/bin 在變數 path 內,讓系統找得到,才可以使用這個指令。
再執行一次剛開始的指令:
sudo su - -c "R -e \"
    IRkernel::installspec(
        name='ir41',
        displayname='R 4.1',
        user=FALSE,
        prefix='/opt/jupyterhub'
    )
\""
列出目前的核心,確定是否正常安裝
Available kernels:
  ir43       /opt/jupyterhub/share/jupyter/kernels/ir43
  python3    /opt/jupyterhub/share/jupyter/kernels/python3
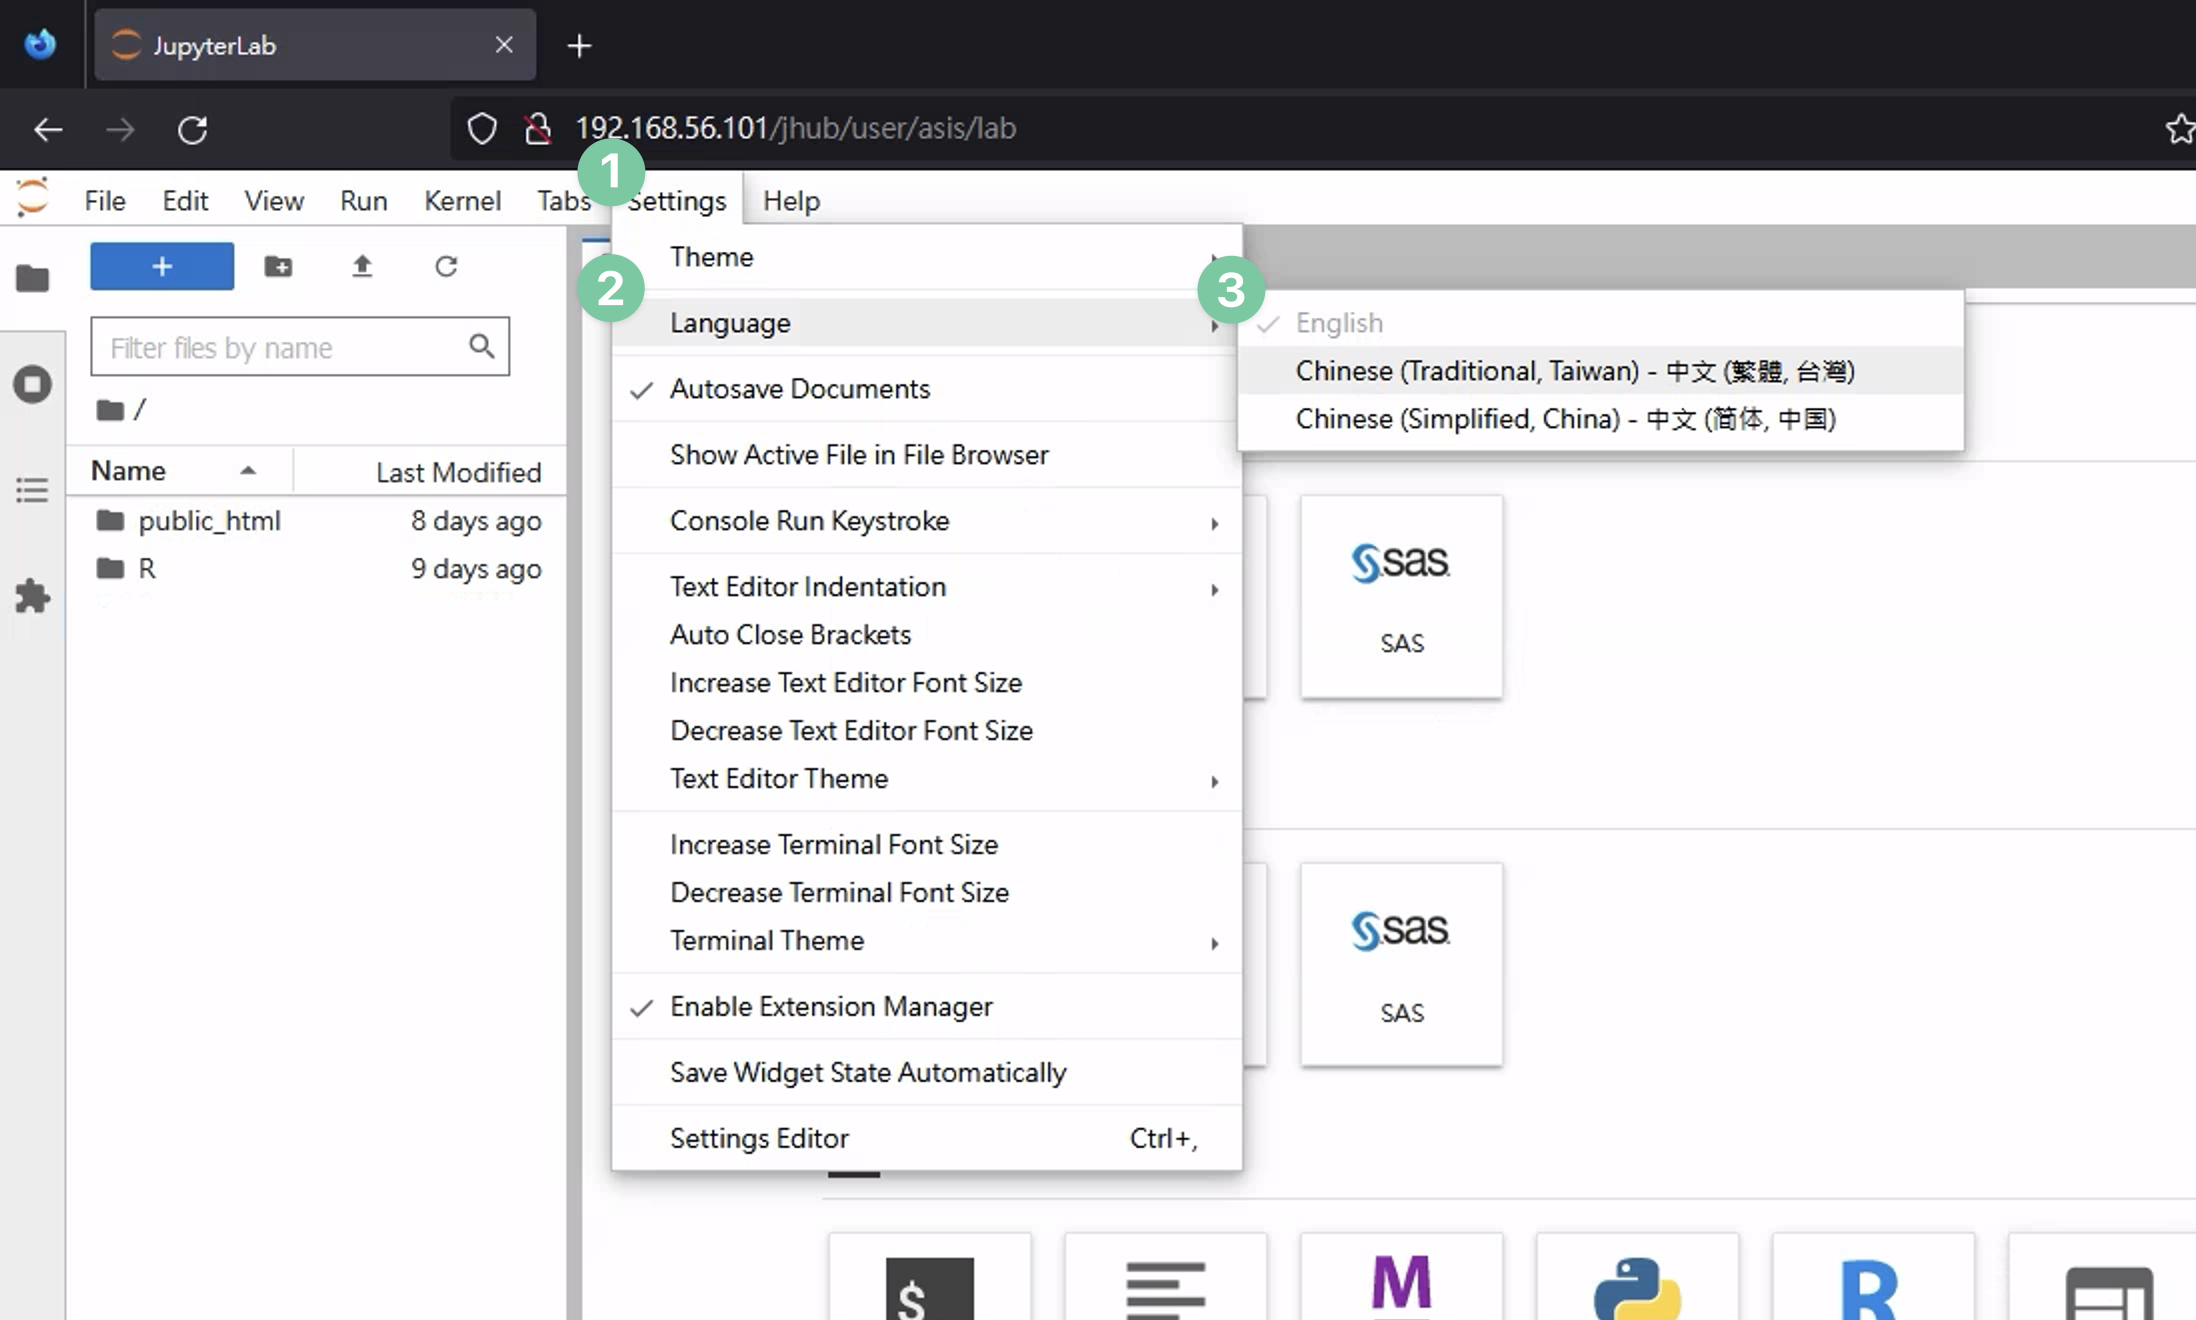
圖 5.2: jupyterhub 安裝完 R 核心與預設 Python 的頁面
5.4.3 SAS 環境
在 conda 的 envs 資料夾新增一個 sas.yml 設定
/opt/conda/envs/sas.yml
name: sas
channels:
  - defaults
  - conda-forge
  - anaconda
dependencies:
  - sas_kernel
  - python=3.10
  - pip
  - ipykernel
prefix: /opt/conda/envs/sas
讓 conda 以 sas.yml 建立虛擬環境
在 sas 的虛擬環境中建立 sas 的資料夾
編輯 kernel 的 json 設定檔案,將下列 json 存入檔案
/opt/conda/envs/sas/share/jupyter/kernels/sas/kernel.json
{
    "argv": [
        "/opt/conda/envs/sas/bin/python",
        "-m",
        "sas_kernel",
        "-f",
        "{connection_file}"
    ],
    "display_name": "SAS",
    "codemirror_mode": "sas",
    "language": "sas",
    "name": "sas"
}
把 sas 核心 Logo 複製過去
sudo cp \
    /opt/conda/envs/sas/lib/python3.10/site-packages/sas_kernel/data/logo-64x64.png \
    /opt/conda/envs/sas/share/jupyter/kernels/sas
最後用 jupyter 指令安裝核心
5.5 設置 Apache 的反向代理
更新我們網站的設定
/etc/apache2/sites-available/asis.conf
<VirtualHost *:80>
    [...]

    ###
    # JupyterHub Reverse Proxy
    ###
    RedirectMatch permanent ^/jhub$ /jhub/
    RewriteCond %{HTTP:Connection} Upgrade [NC]
    RewriteCond %{HTTP:Upgrade} websocket [NC]
    RewriteRule /jhub/(.*) ws://127.0.0.1:8000/jhub/$1 [NE,P,L]
    RewriteRule /jhub/(.*) http://127.0.0.1:8000/jhub/$1 [NE,P,L]

    <Location "/jhub/">
      # preserve Host header to avoid cross-origin problems
      ProxyPreserveHost on
      # proxy to JupyterHub
      ProxyPass         http://127.0.0.1:8000/
      ProxyPassReverse  http://127.0.0.1:8000/
    </Location>

</VirtualHost>
重新啟動 Apache 以套用新的設定
{.prefixed bash} sudo systemctl restart apache2
最後用網址 http://<虛擬機器的 ip 位置>/jhub 訪問首頁
 圖 5.3: 透過 http:///jhub 訪問的首頁
確認沒問題後,記得將防火牆的埠號 8000 規則刪除